Connecting to a vPLC
The editor opens with the built-in OpenPLC Simulator selected. Anything you build runs in the browser sandbox until you point it at a real (or virtual) PLC.
When you're ready to run on a vPLC, use the Edge Devices screen to pick one and connect. This page walks through that flow: picking a vPLC, logging in (or creating the first user), and what changes once you're connected.
If you don't yet have an Edge Device or a vPLC, see Devices and Creating a vPLC in the platform docs. Until then, the Simulator is the fast lane.
Open the Edge Devices screen
In the project tree, expand Device and click Edge Devices. The Edge Devices editor opens as a tab in the central editing area.
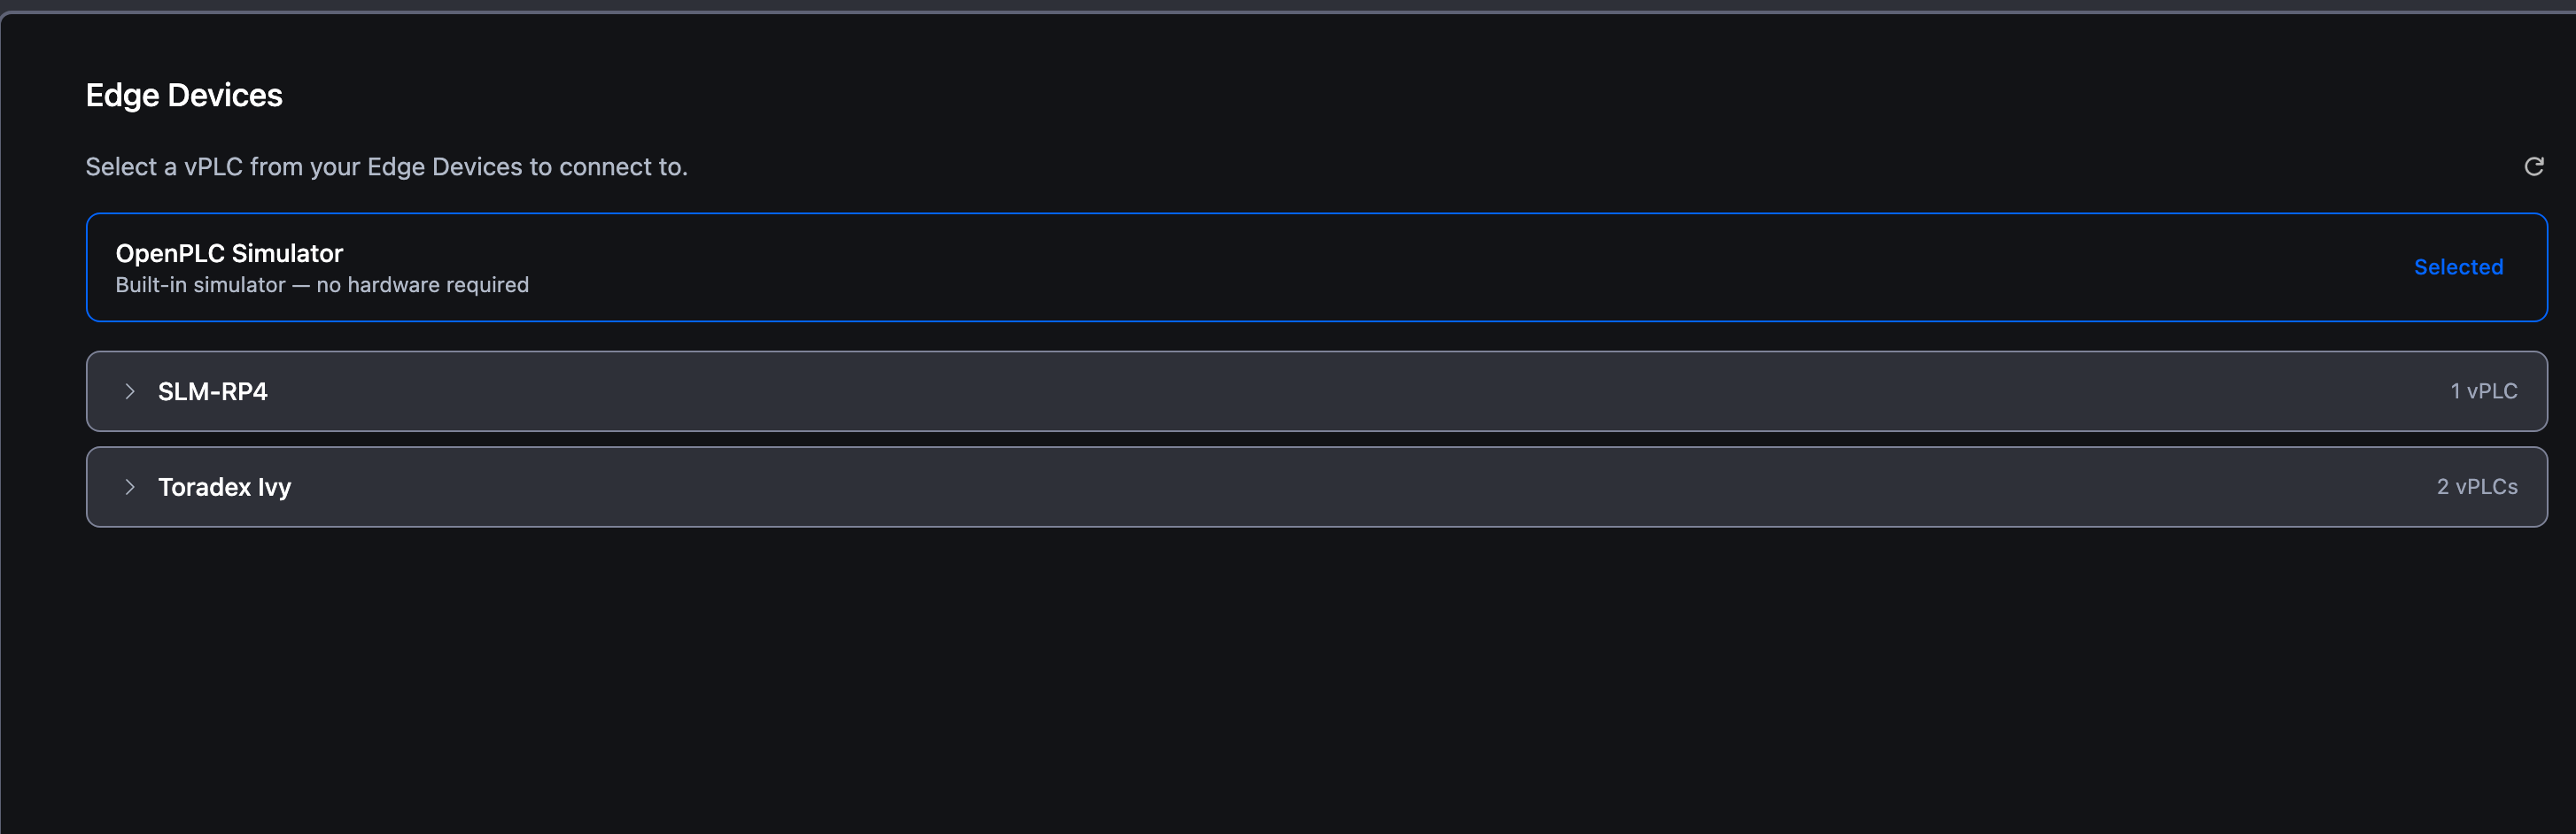
OpenPLC Simulator sits at the top with a Selected badge. It's a browser-side AVR emulator. Anything you build with it as the target runs in the browser sandbox, no hardware required. See Running with the Simulator.
Below the Simulator, each card represents one Edge Device: its name, its online status, and a chevron to expand the list of vPLCs hosted on it.
Pick a vPLC
Expand the Edge Device. The vPLCs running on it appear as child rows, each with its name and a status indicator (green dot + Running if the vPLC is up).
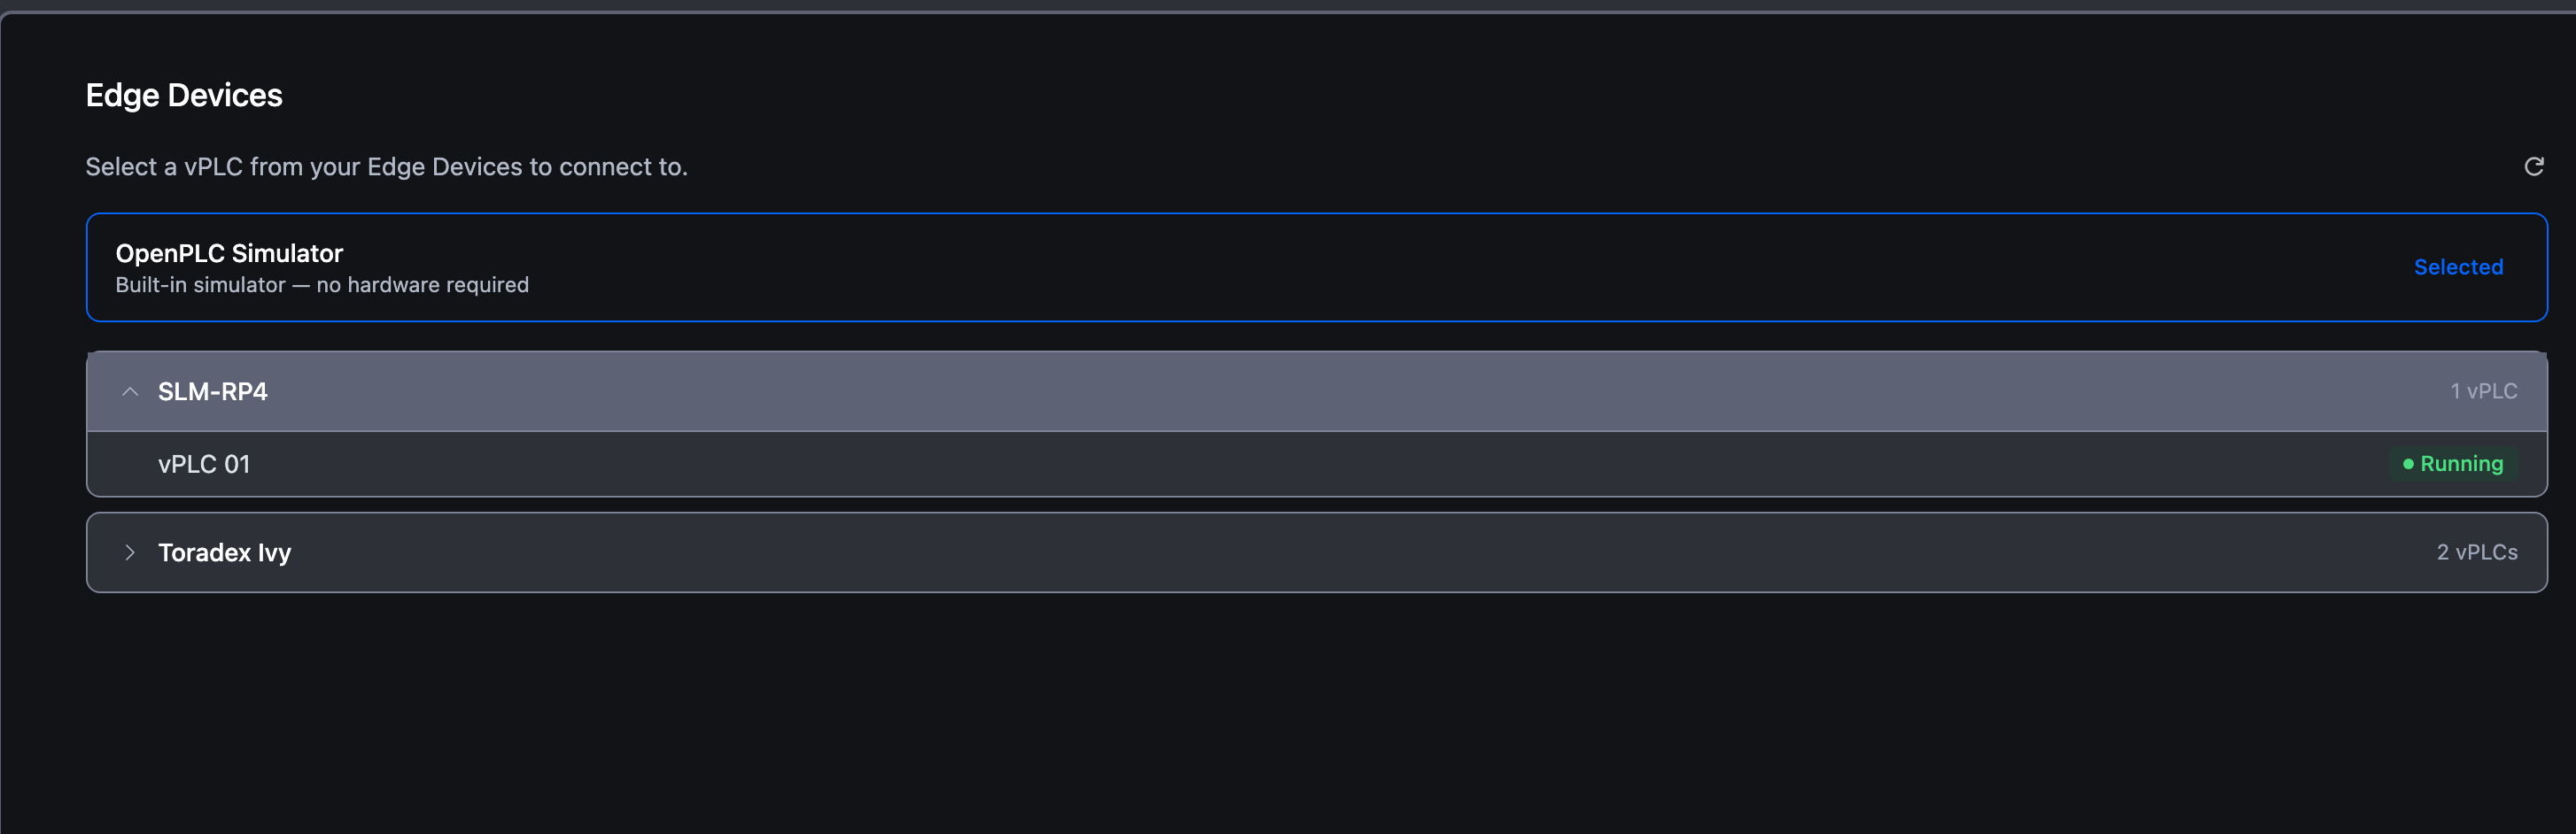
Click a vPLC to select it. The row highlights and a Connect button appears below the cards.
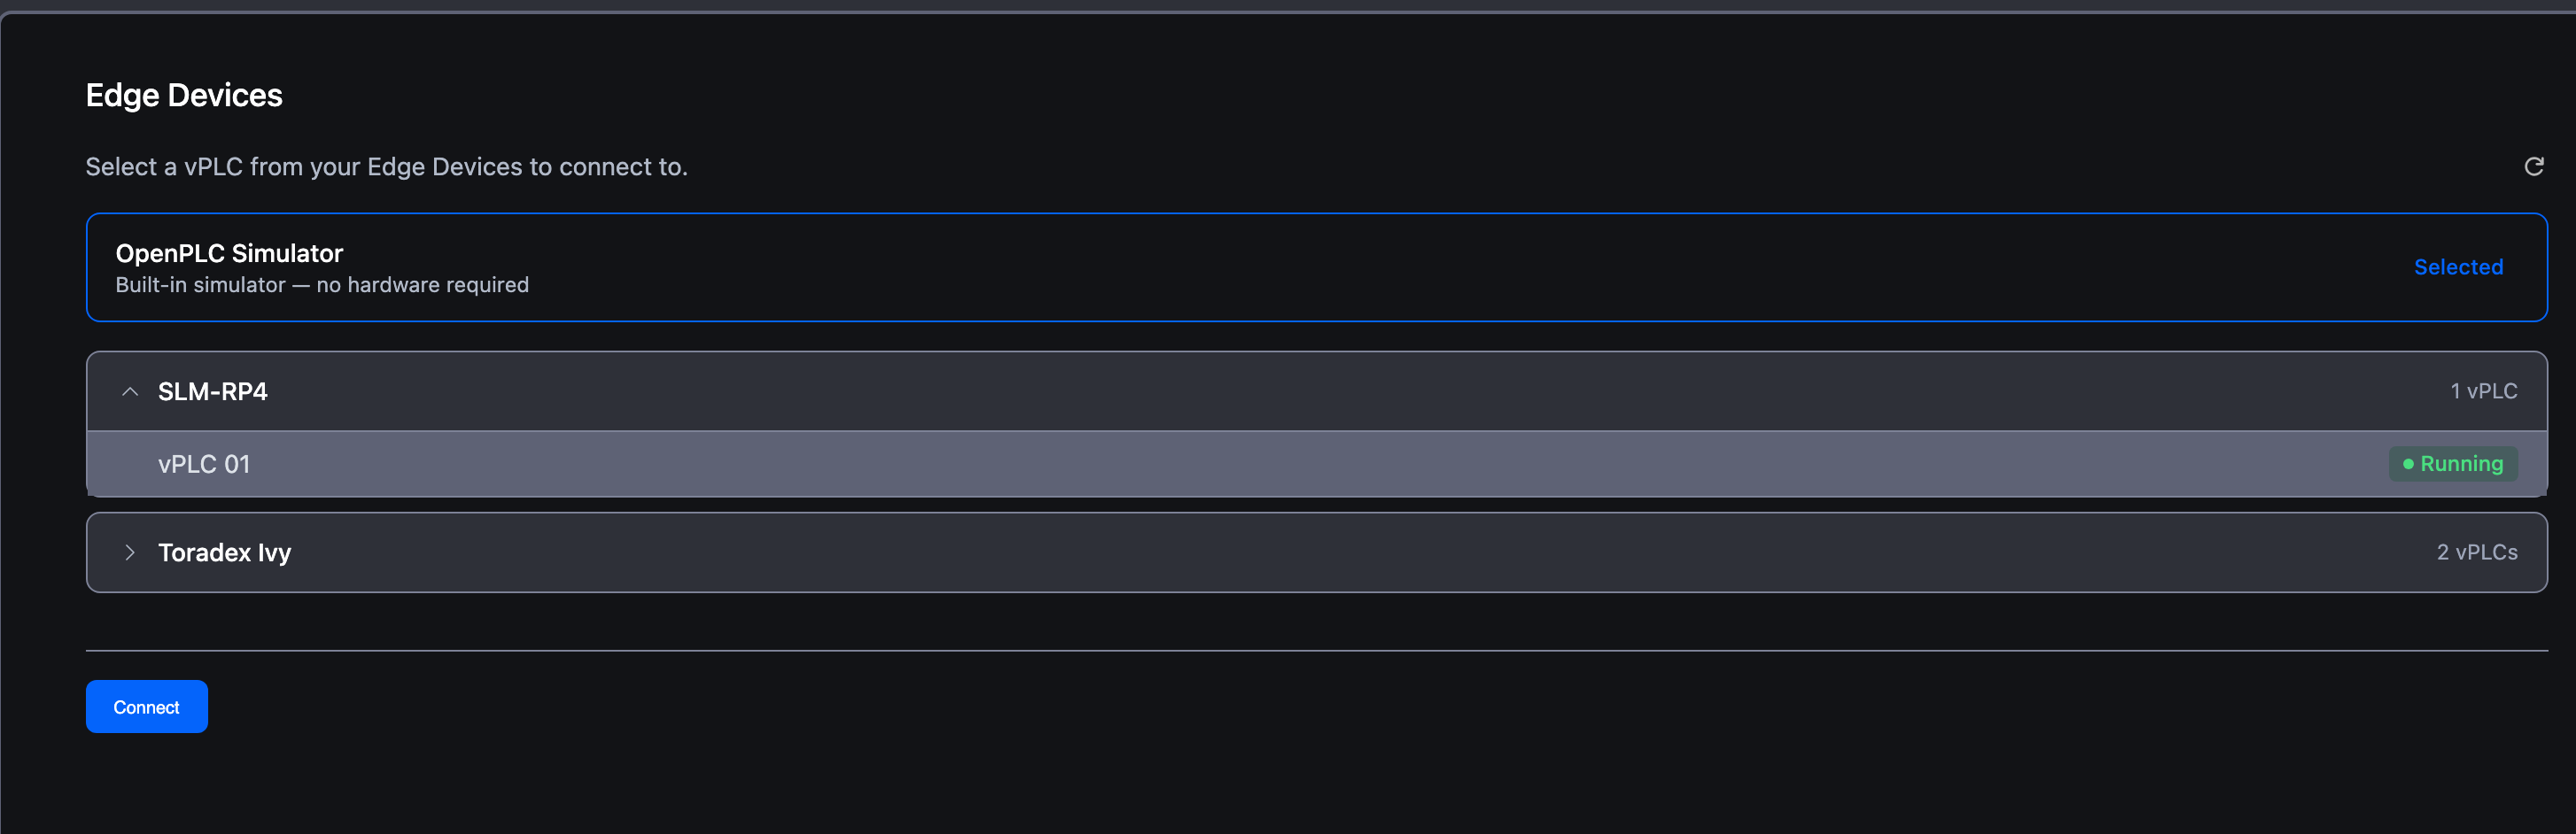
Click Connect.
First connection: create a user
Brand-new vPLCs have no users. The first time you connect, the editor opens a Create First User dialog instead of the login dialog.
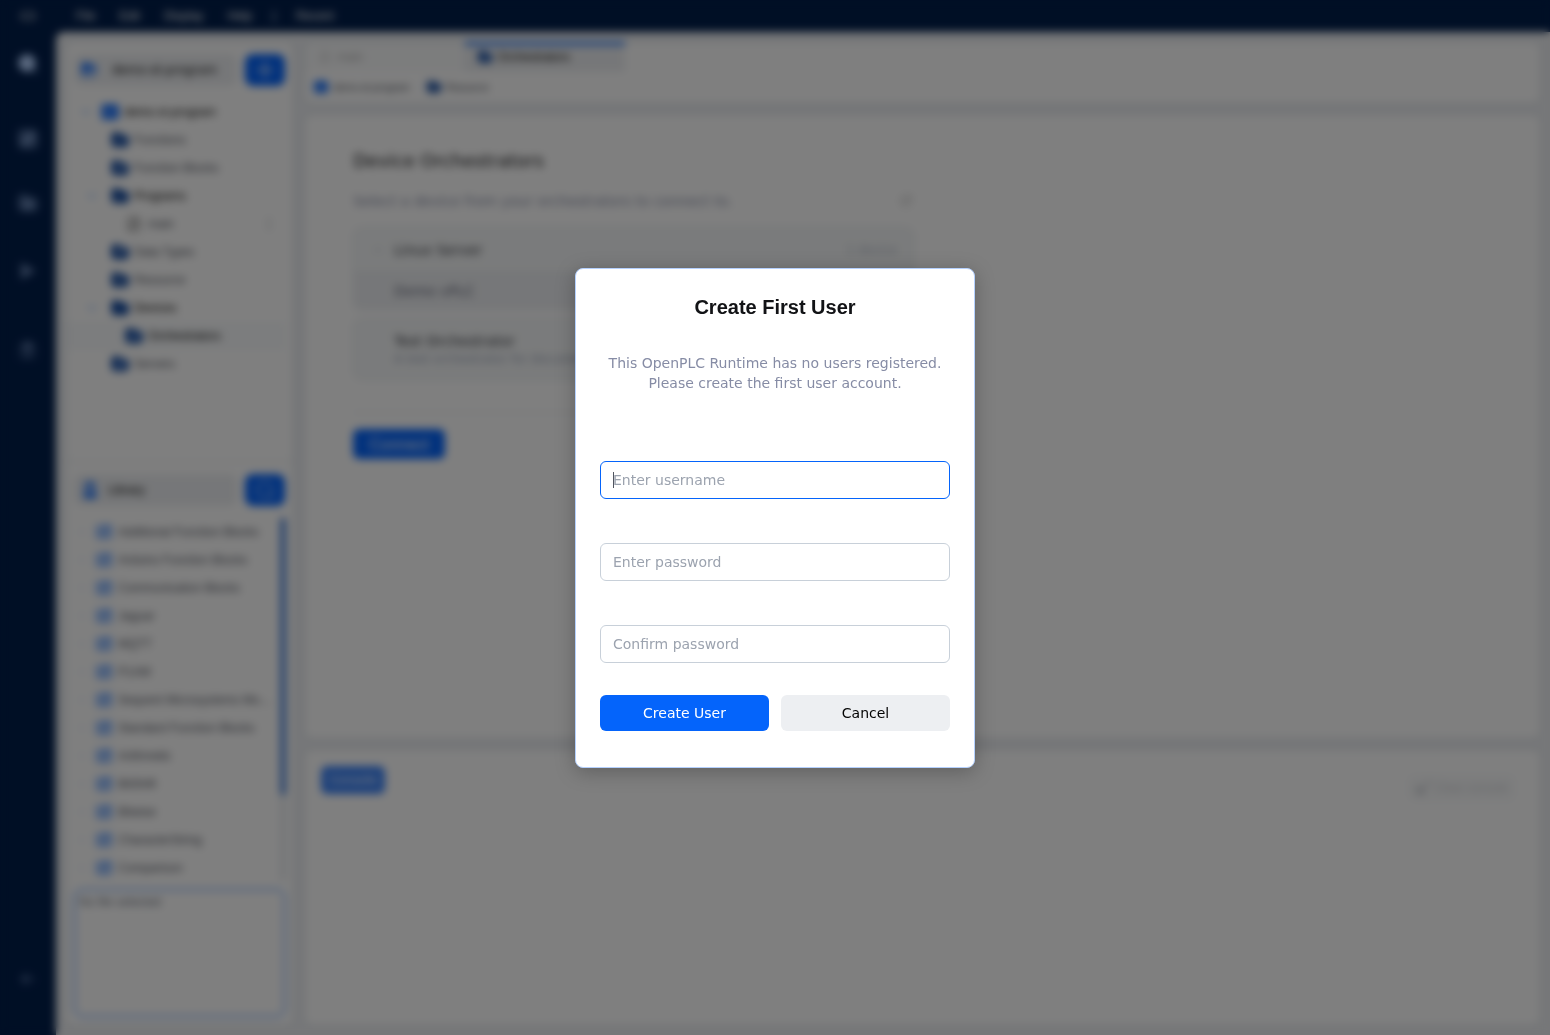
Enter a username and password, confirm the password, and click Create User. The user lives on the vPLC itself, not in your Autonomy Edge account, keep the credentials somewhere safe. If you forget them, you have to recreate the vPLC from the platform.
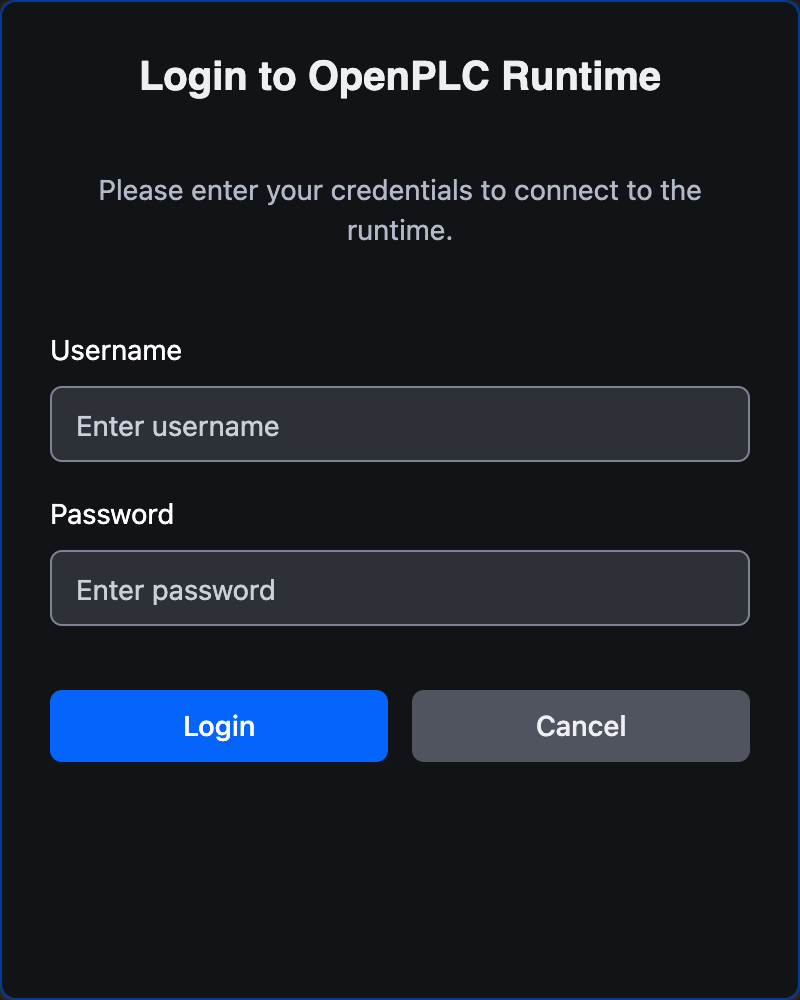
Subsequent connections: log in
After the first user exists, connecting opens a standard Login dialog. Use the credentials you created. The session lasts until you log out or close the editor tab.
What changes once you're connected
-
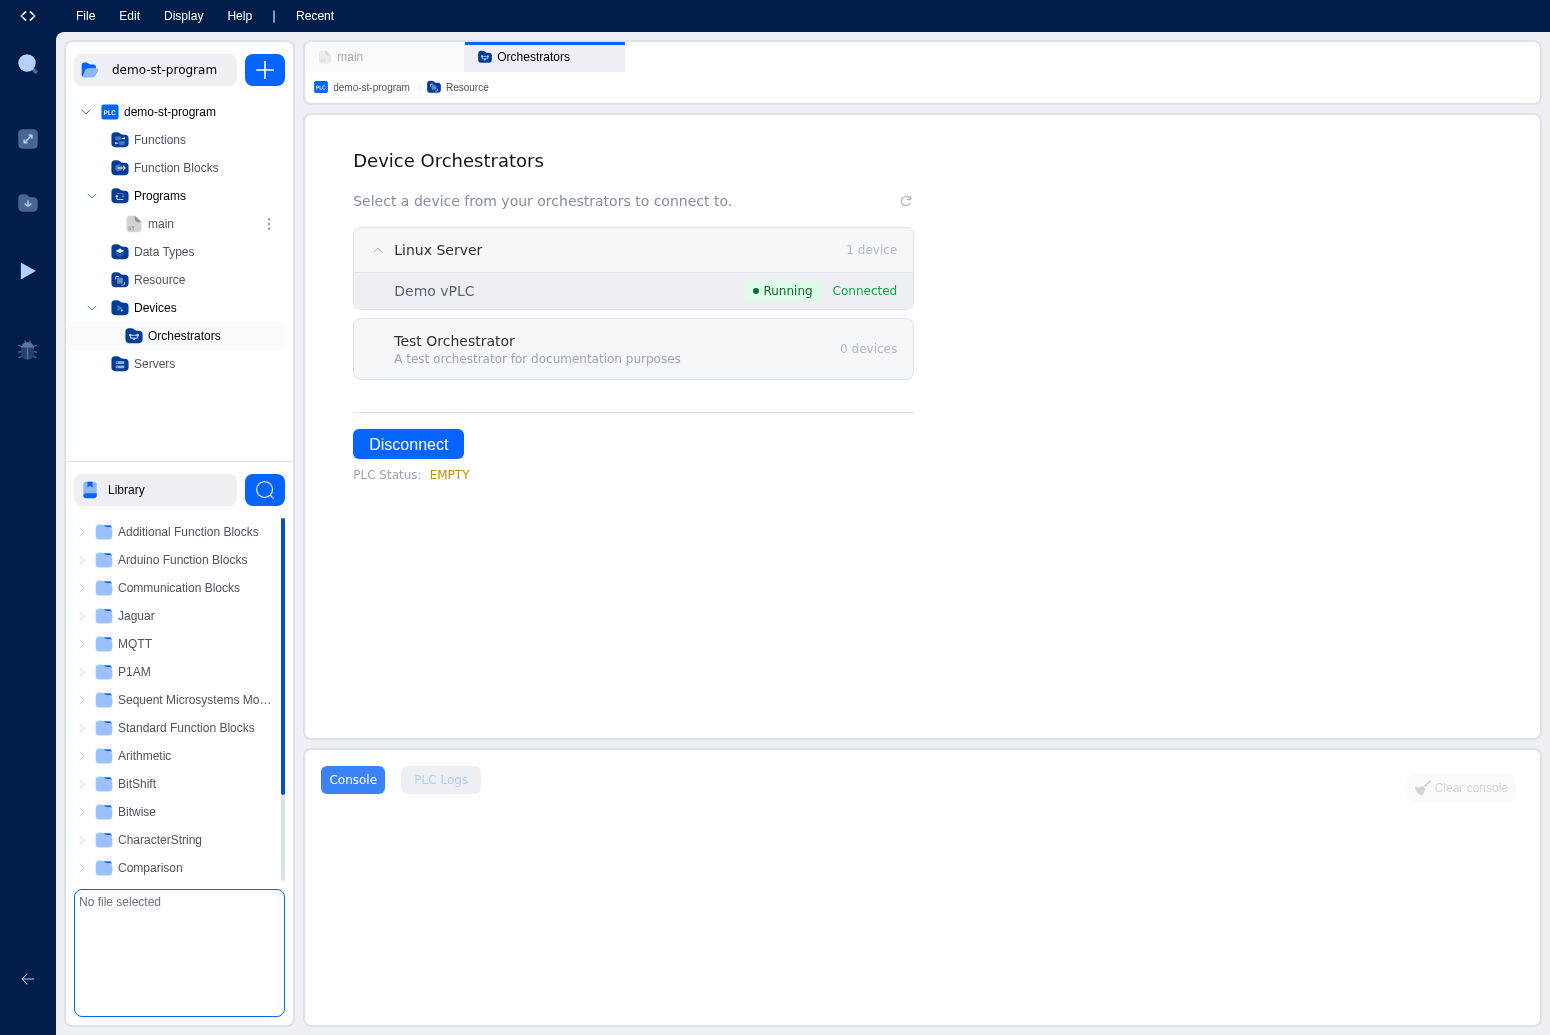
The Edge Device card now shows the vPLC with a Connected status badge.
-
The activity-bar Play button is enabled. Pressing it calls
runtime.startPlcon the connected vPLC. -
The activity-bar Debugger becomes available (it needs a connected runtime to talk to).
-
The PLC Logs tab appears in the console, streaming the runtime's log feed.
-
Build options offers Build & Upload and Clean Upload in addition to Build only.
-
The Edge Devices card shows live runtime stats (CPU, memory, uptime) for the connected vPLC.
Status polling
The editor polls the runtime in the background for:
- PLC running / stopped / error state.
- Runtime log entries.
- Task execution timing.
You don't refresh anything by hand. Updates land in the console and on the Edge Devices card automatically.
Disconnecting
Click Logout in the Edge Devices card. The vPLC keeps running, disconnecting only ends your editor's session with it. Stop the PLC explicitly with the Stop button if you want it offline.
Troubleshooting
The Edge Devices screen is empty. Verify the Edge Device is online in the platform dashboard. The card only appears if the platform reports it as reachable.
The vPLC shows offline / stopped. Open the vPLC in the platform dashboard and start it there. Allow about a minute for it to initialise before retrying.
Login fails. The credentials are runtime-side, not your Autonomy Edge login. If you've forgotten them, recreate the vPLC.
Upload fails after compilation succeeded. The connection may have dropped during the build. Confirm the Edge Device is still online, then retry. The console will carry the specific transport error.
What's next
- Build options: what each build mode does.
- Debugger: live variable inspection on a connected vPLC.
- Console & PLC Logs: reading the streams from your runtime.
On This Page