Adding an EtherCAT segment
This page covers the very first step: getting an EtherCAT bus entry into your project so that you can start configuring slaves. It is intentionally short. Once the bus is in the tree, the rest of the setup happens inside the Bus Editor and Slave Device Editor.
Step-by-step
-
Open your project in the Autonomy Edge editor and make sure the project explorer panel on the left is visible.
-
Click the blue
+button next to the project name to open the Create PLC element menu. -
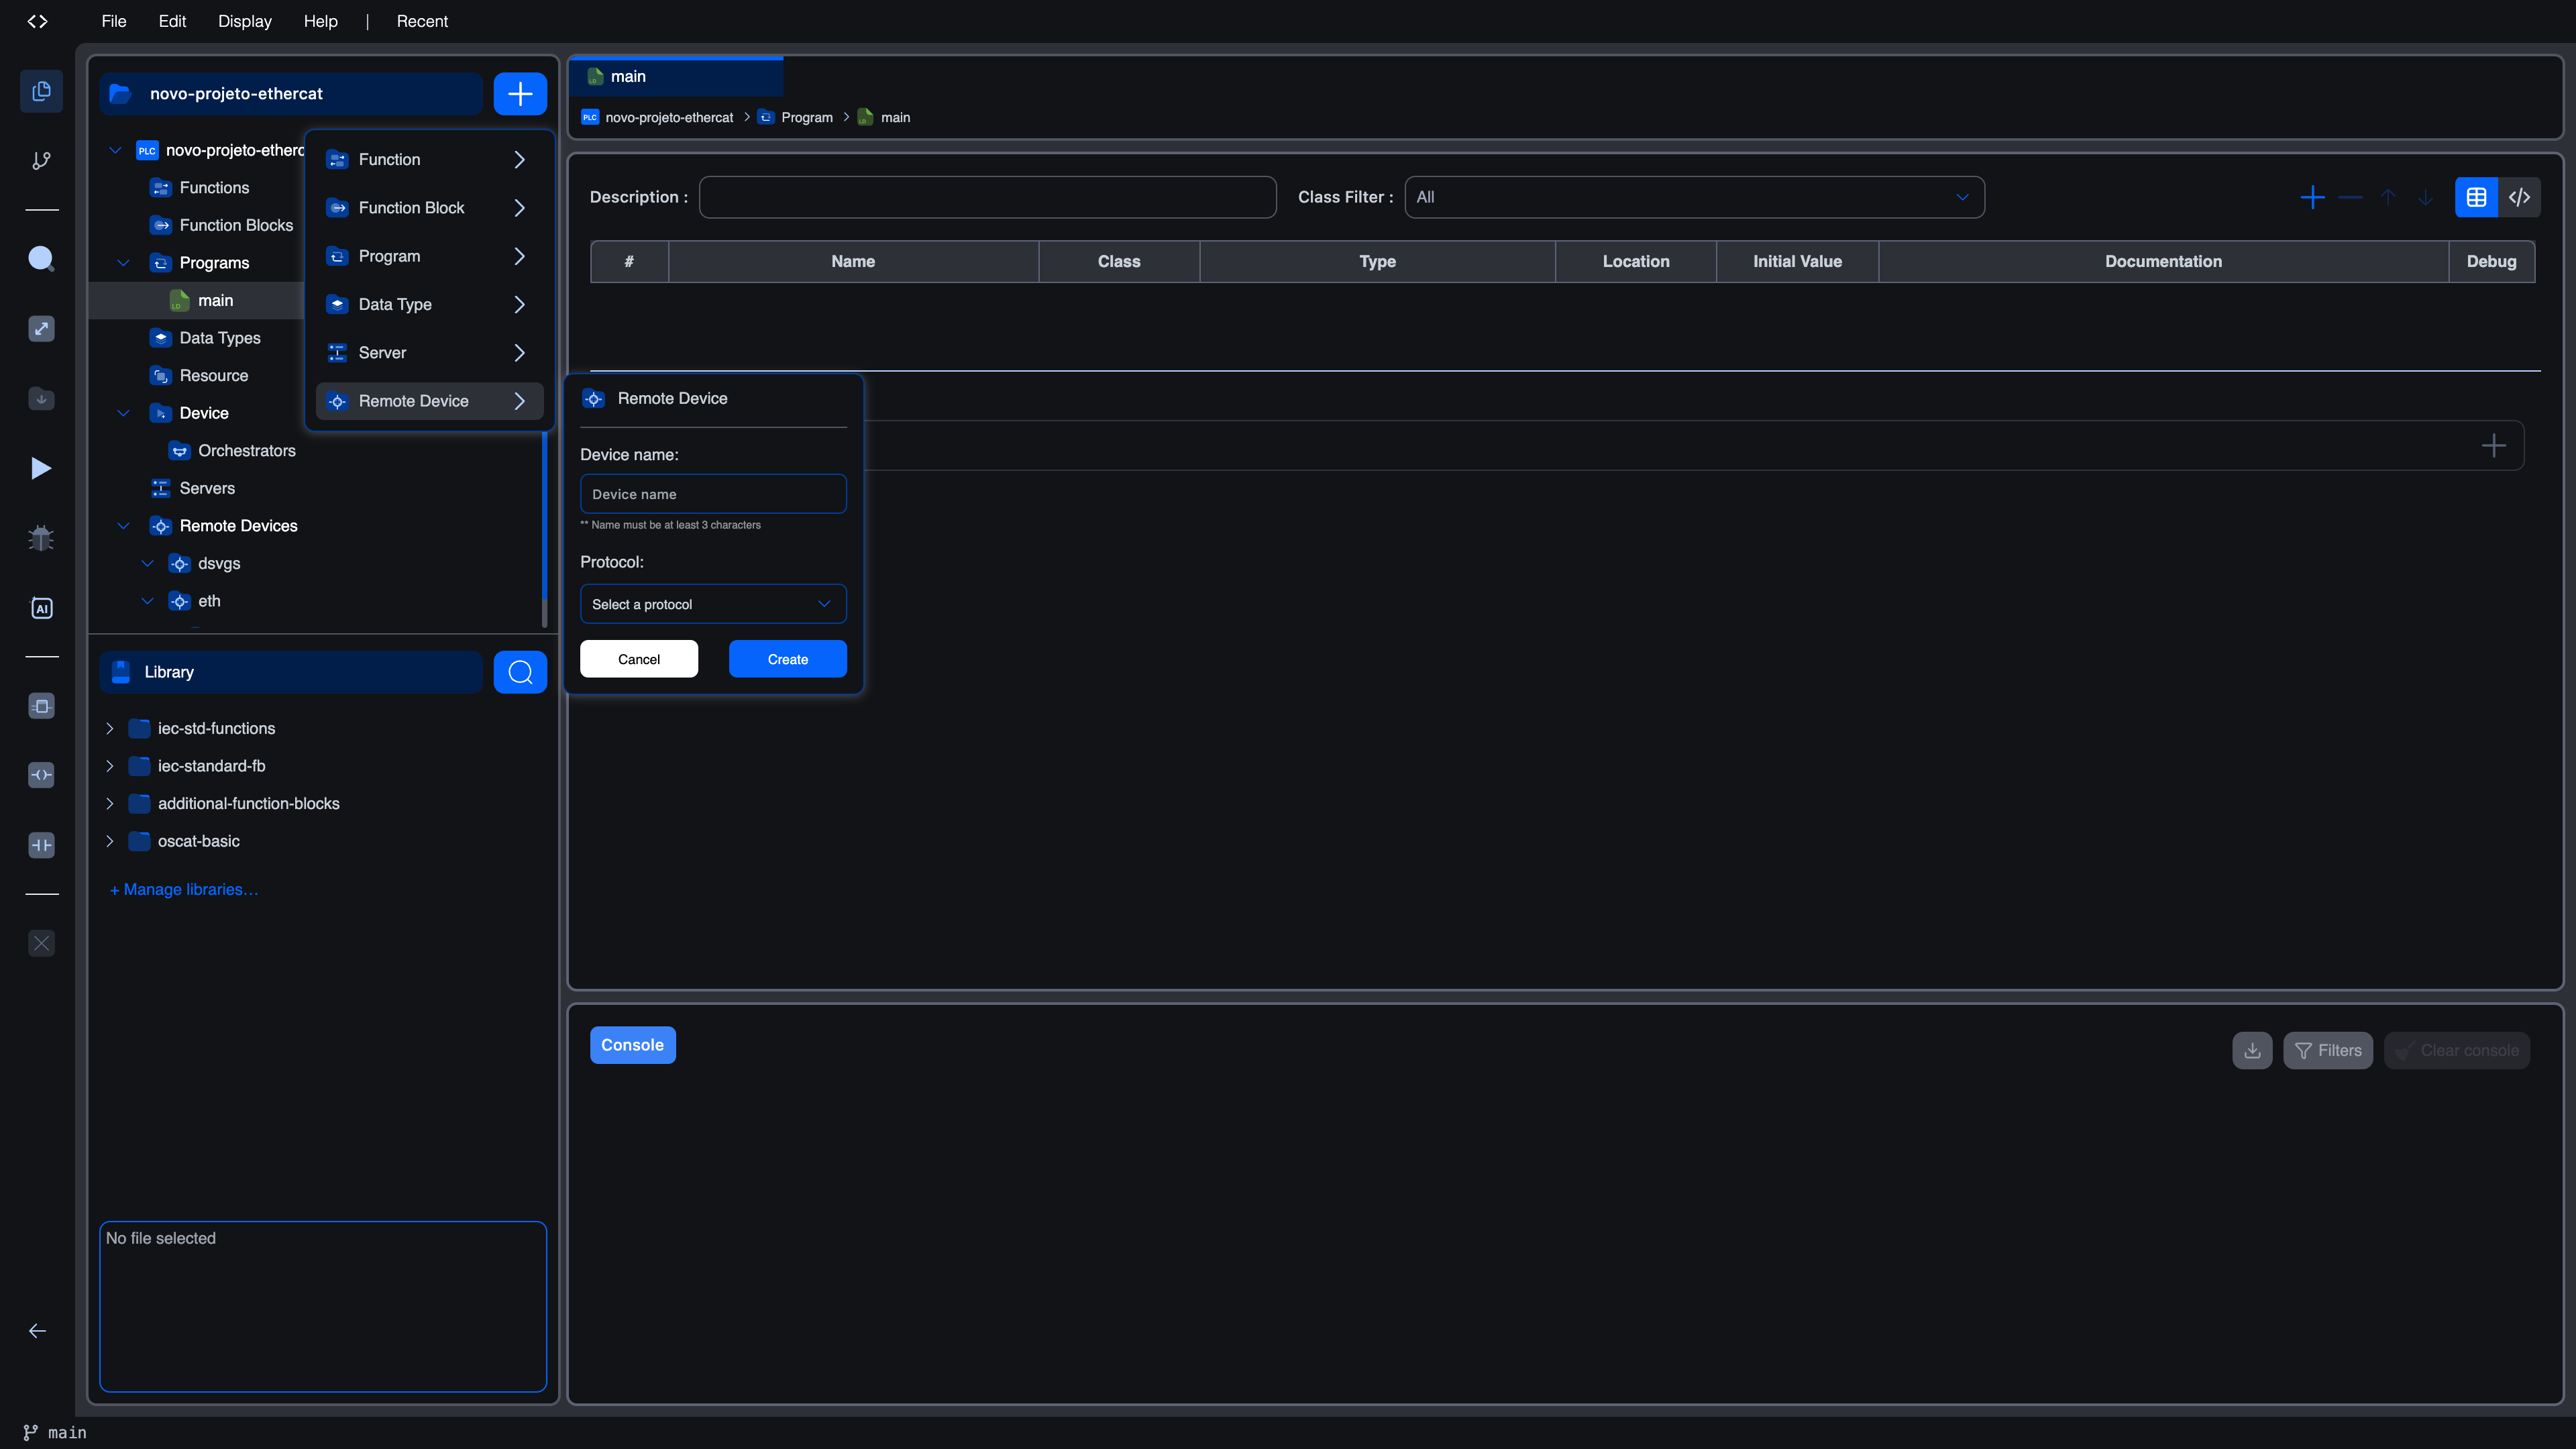
Select Remote Device from the menu. A small form panel appears.
-
In the Device name field, enter a short, descriptive identifier for the bus. The form requires the name to be at least 3 characters. Common choices are
eth,axis_bus, orfield_io. The name becomes the label of the bus node in the project tree and the heading shown at the top of the Bus Editor. -
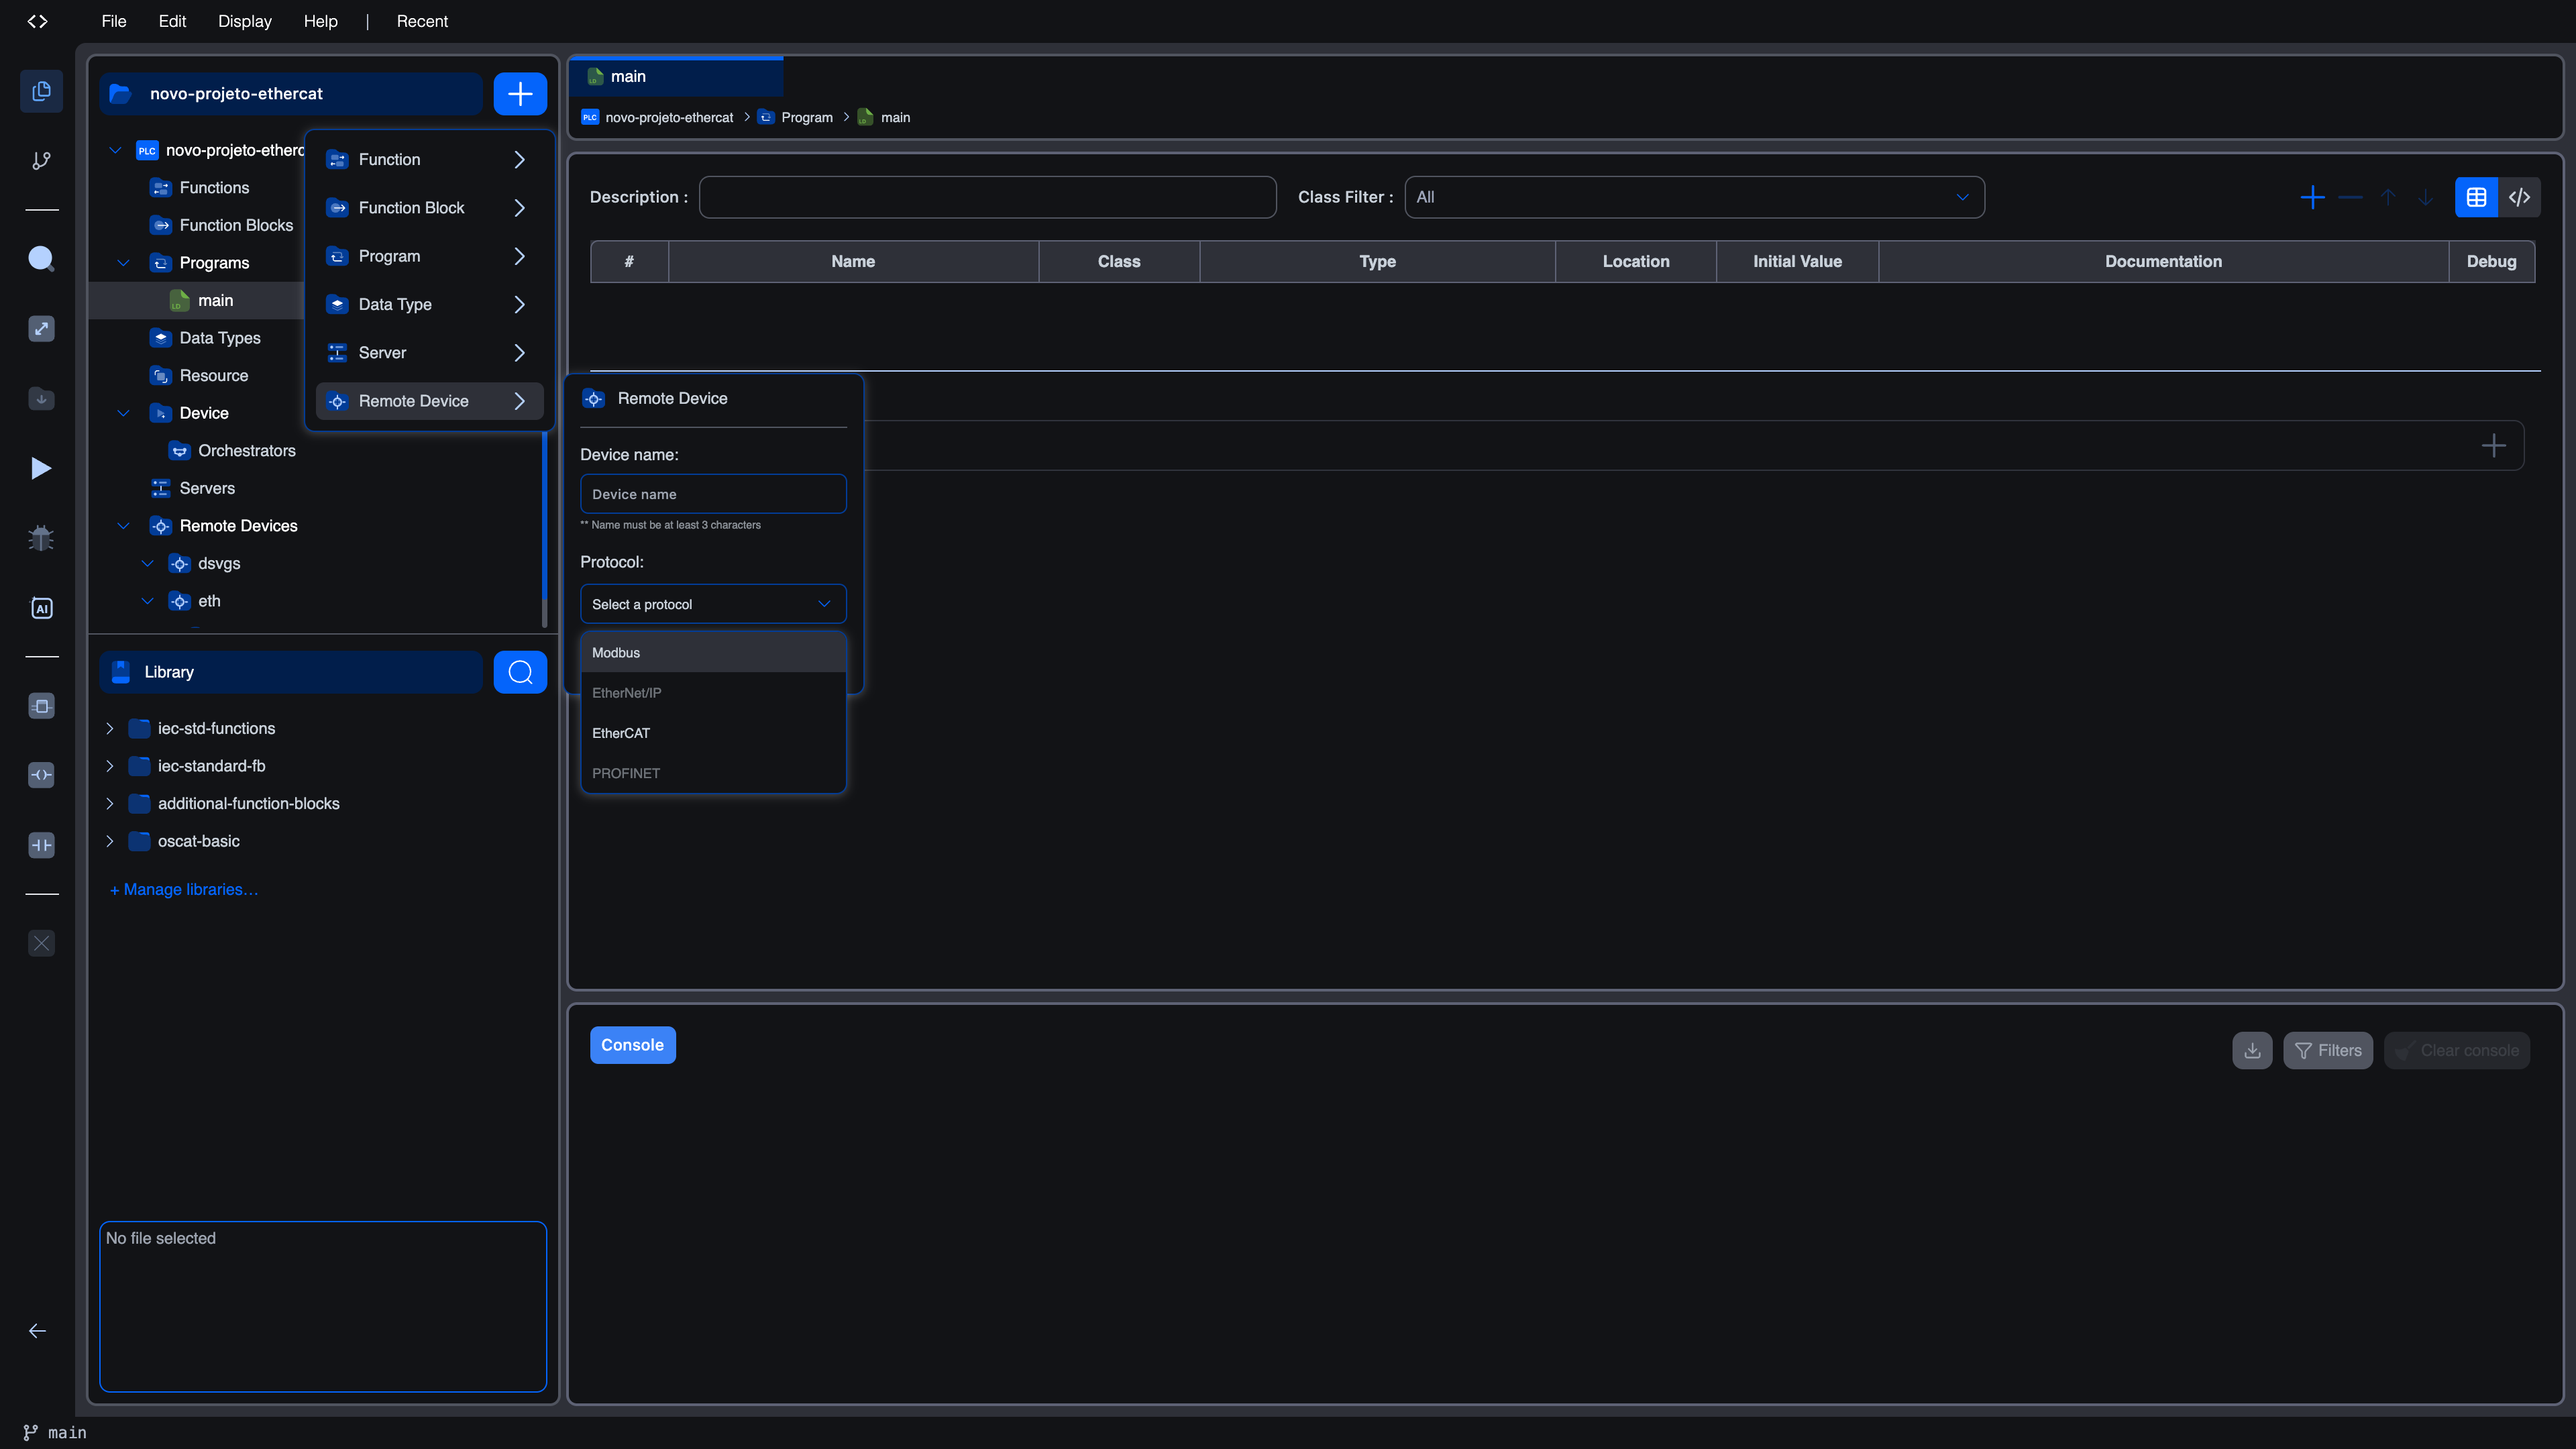
From the Protocol dropdown, choose EtherCAT. The dropdown also lists Modbus, EtherNet/IP, and PROFINET.
-
Click Create.
The new bus appears in the project tree under a Remote Devices folder. The first time you create one, the Remote Devices folder is created automatically; if you already have other remote devices (for example a Modbus client), the EtherCAT bus is added alongside them.
What just got created
The bus node represents the EtherCAT master configuration as a whole. It does not represent a single slave. The master holds:
- The network interface to use (default
eth0until you pick a real one) - The bus cycle time (default 1000 µs)
- The watchdog timeout in cycles (default 3)
- The list of configured slave devices (initially empty)
These defaults are good enough to open the Bus Editor and start scanning. You will adjust them in the Advanced tab once you know the segment.
Where slaves go
Slaves do not appear under the bus until you add them. There are two ways to add a slave:
| Method | When to use it |
|---|---|
| Scan the wire from the Bus tab | When the segment is physically connected and the runtime is reachable |
| Pick devices from the Repository tab via the Add Device ➕ button | When you want to build the configuration before you have hardware, or when a scan does not match an ESI in the repository |
Either way, every slave you add becomes a child node under the bus. Clicking the child node opens the Slave Device Editor where you map its channels and tune its per-slave configuration.
Renaming and removing
The bus name follows the same conventions as other Remote Devices:
- Right-click the bus node and use the project explorer's rename action to change its name.
- Right-click the bus node and choose remove to delete the entire segment, including all slave children, from the project. This does not touch the ESI repository. The XML files you uploaded stay available for other projects.
What's next?
Click the bus node to open the EtherCAT Bus Editor, then continue to:
- Bus tab to scan a connected segment, or
- Repository tab to upload ESI files and add slaves from the repository.
On This Page