Installing a Library
Once a library has been published to the catalogue, any project can install it and use its blocks. Installing a library is a two-step process that mirrors how the Library Manager is organised:
- Install it system-wide so the editor knows about it (the System Libraries tab).
- Enable it for your project so its blocks appear in the side panel (the Project Libraries tab).
Open the Library Manager from the bottom of the side panel: click + Manage libraries….
1. Install the library system-wide
On the System Libraries tab, click the + (Add) button above the installed-library list. A small menu offers two sources:
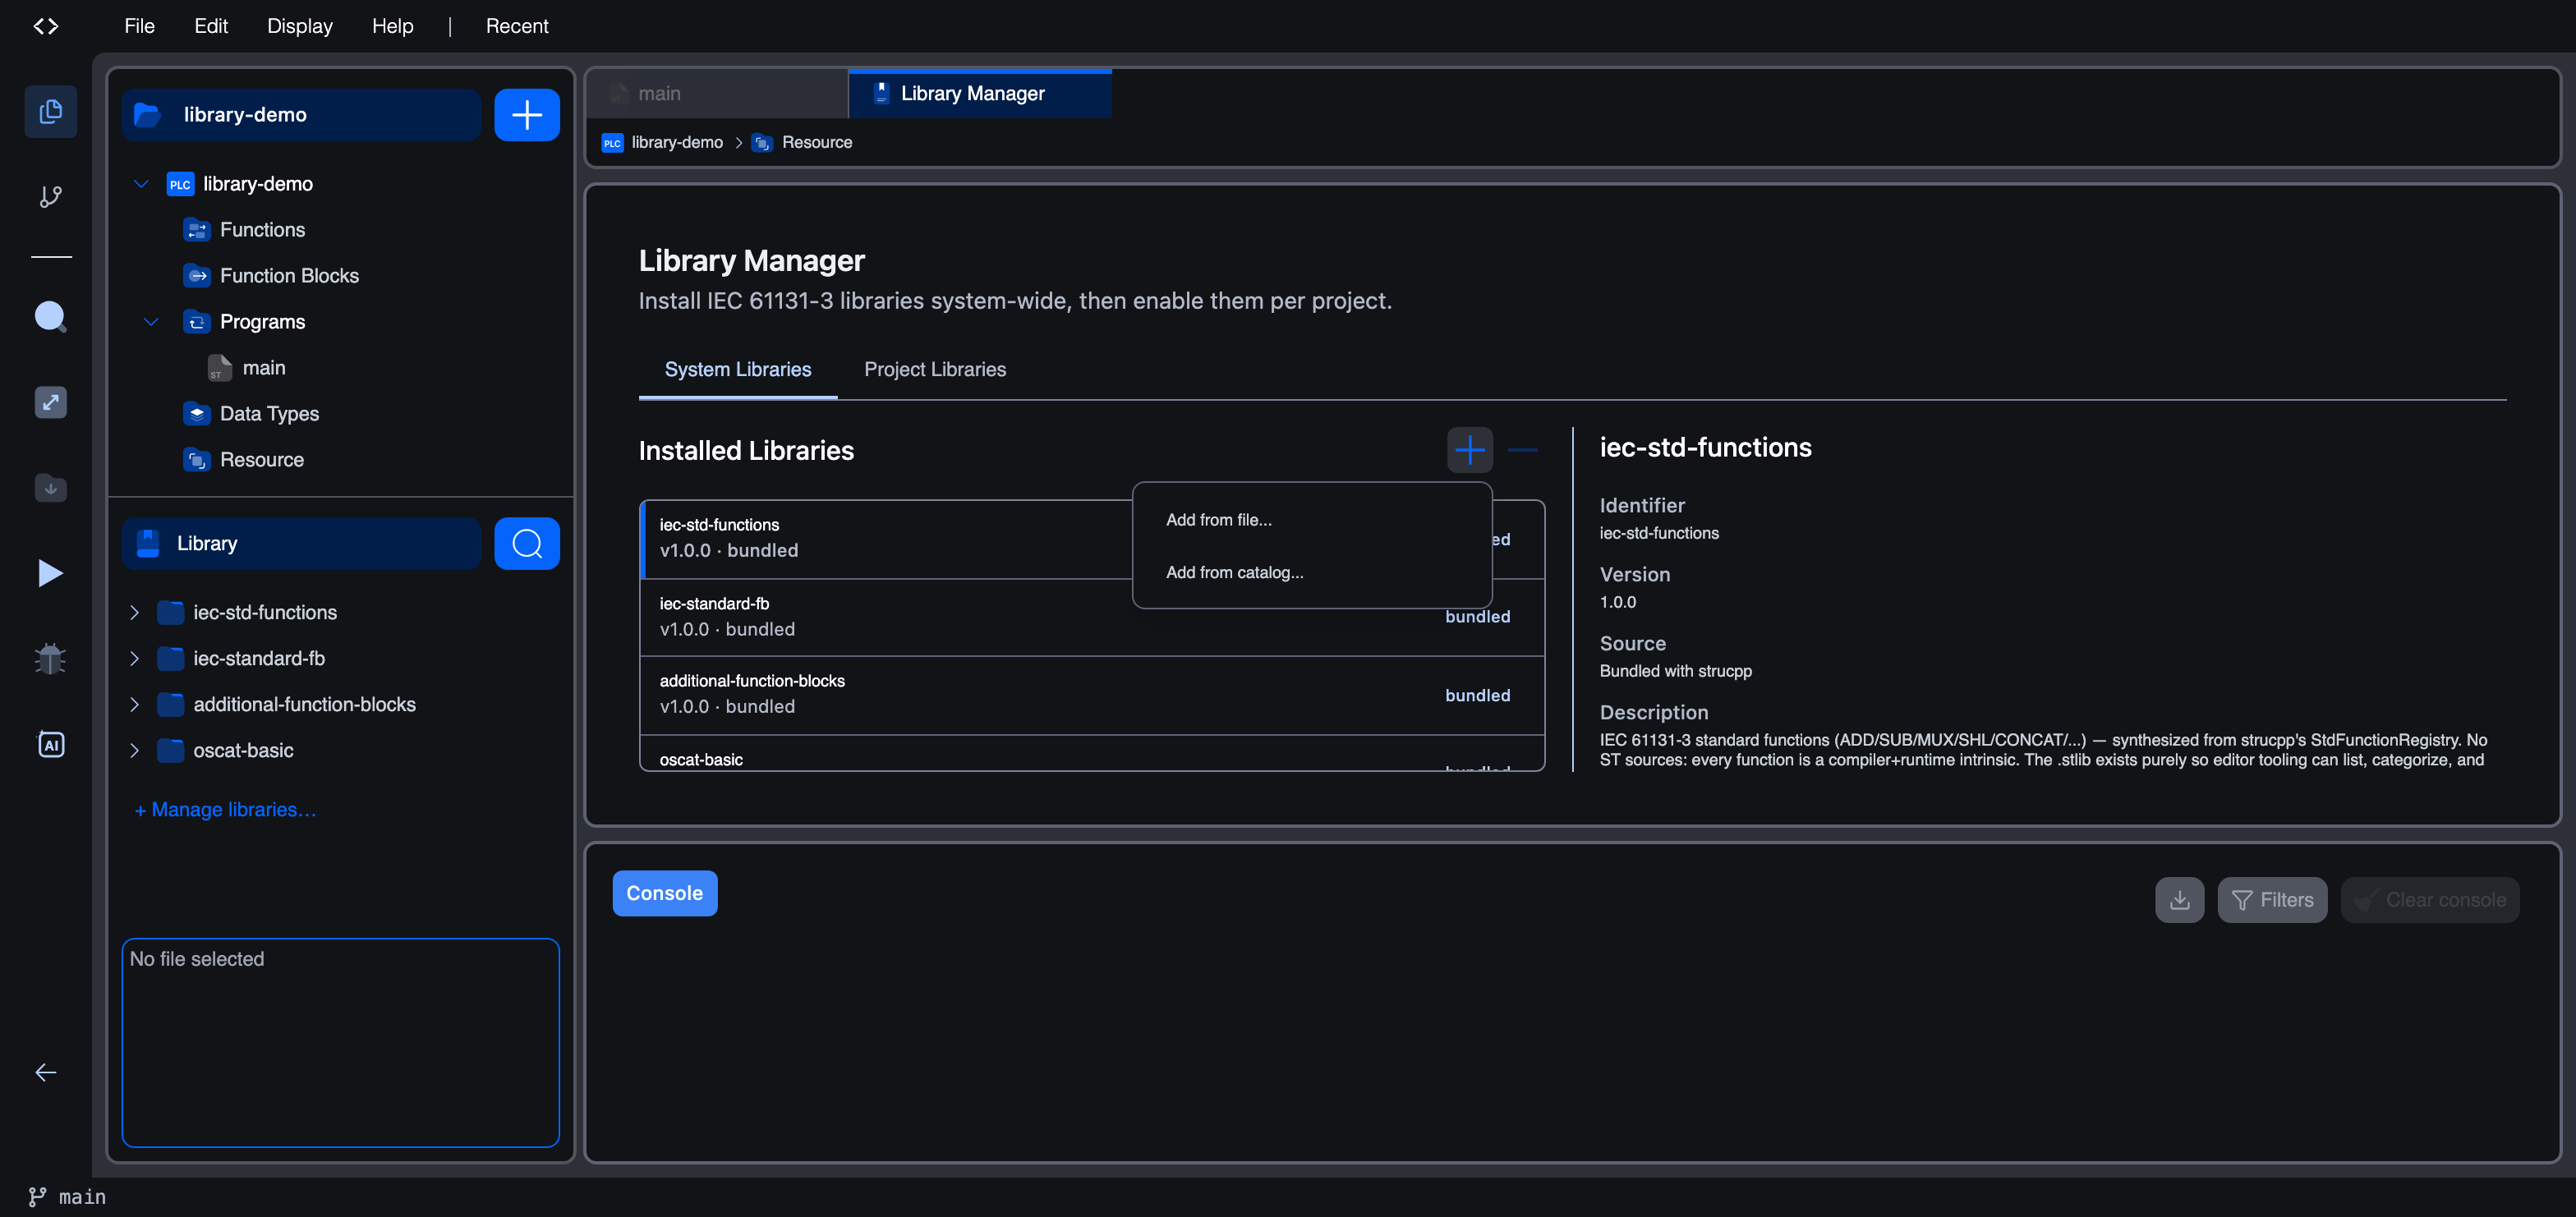
| Source | Use it when |
|---|---|
| Add from catalog… | You want a library that has been published to the Autonomy Edge public catalogue. |
| Add from file… | You have a .stlib archive on disk, for example one you built yourself, or a CoDeSys .lib / .library to import. |
Add from catalog
Choosing Add from catalog… opens the Browse Public Libraries dialog. Search by name, author, or description, sort the results, and tick one or more libraries to install. Libraries already installed are marked with an Installed badge:
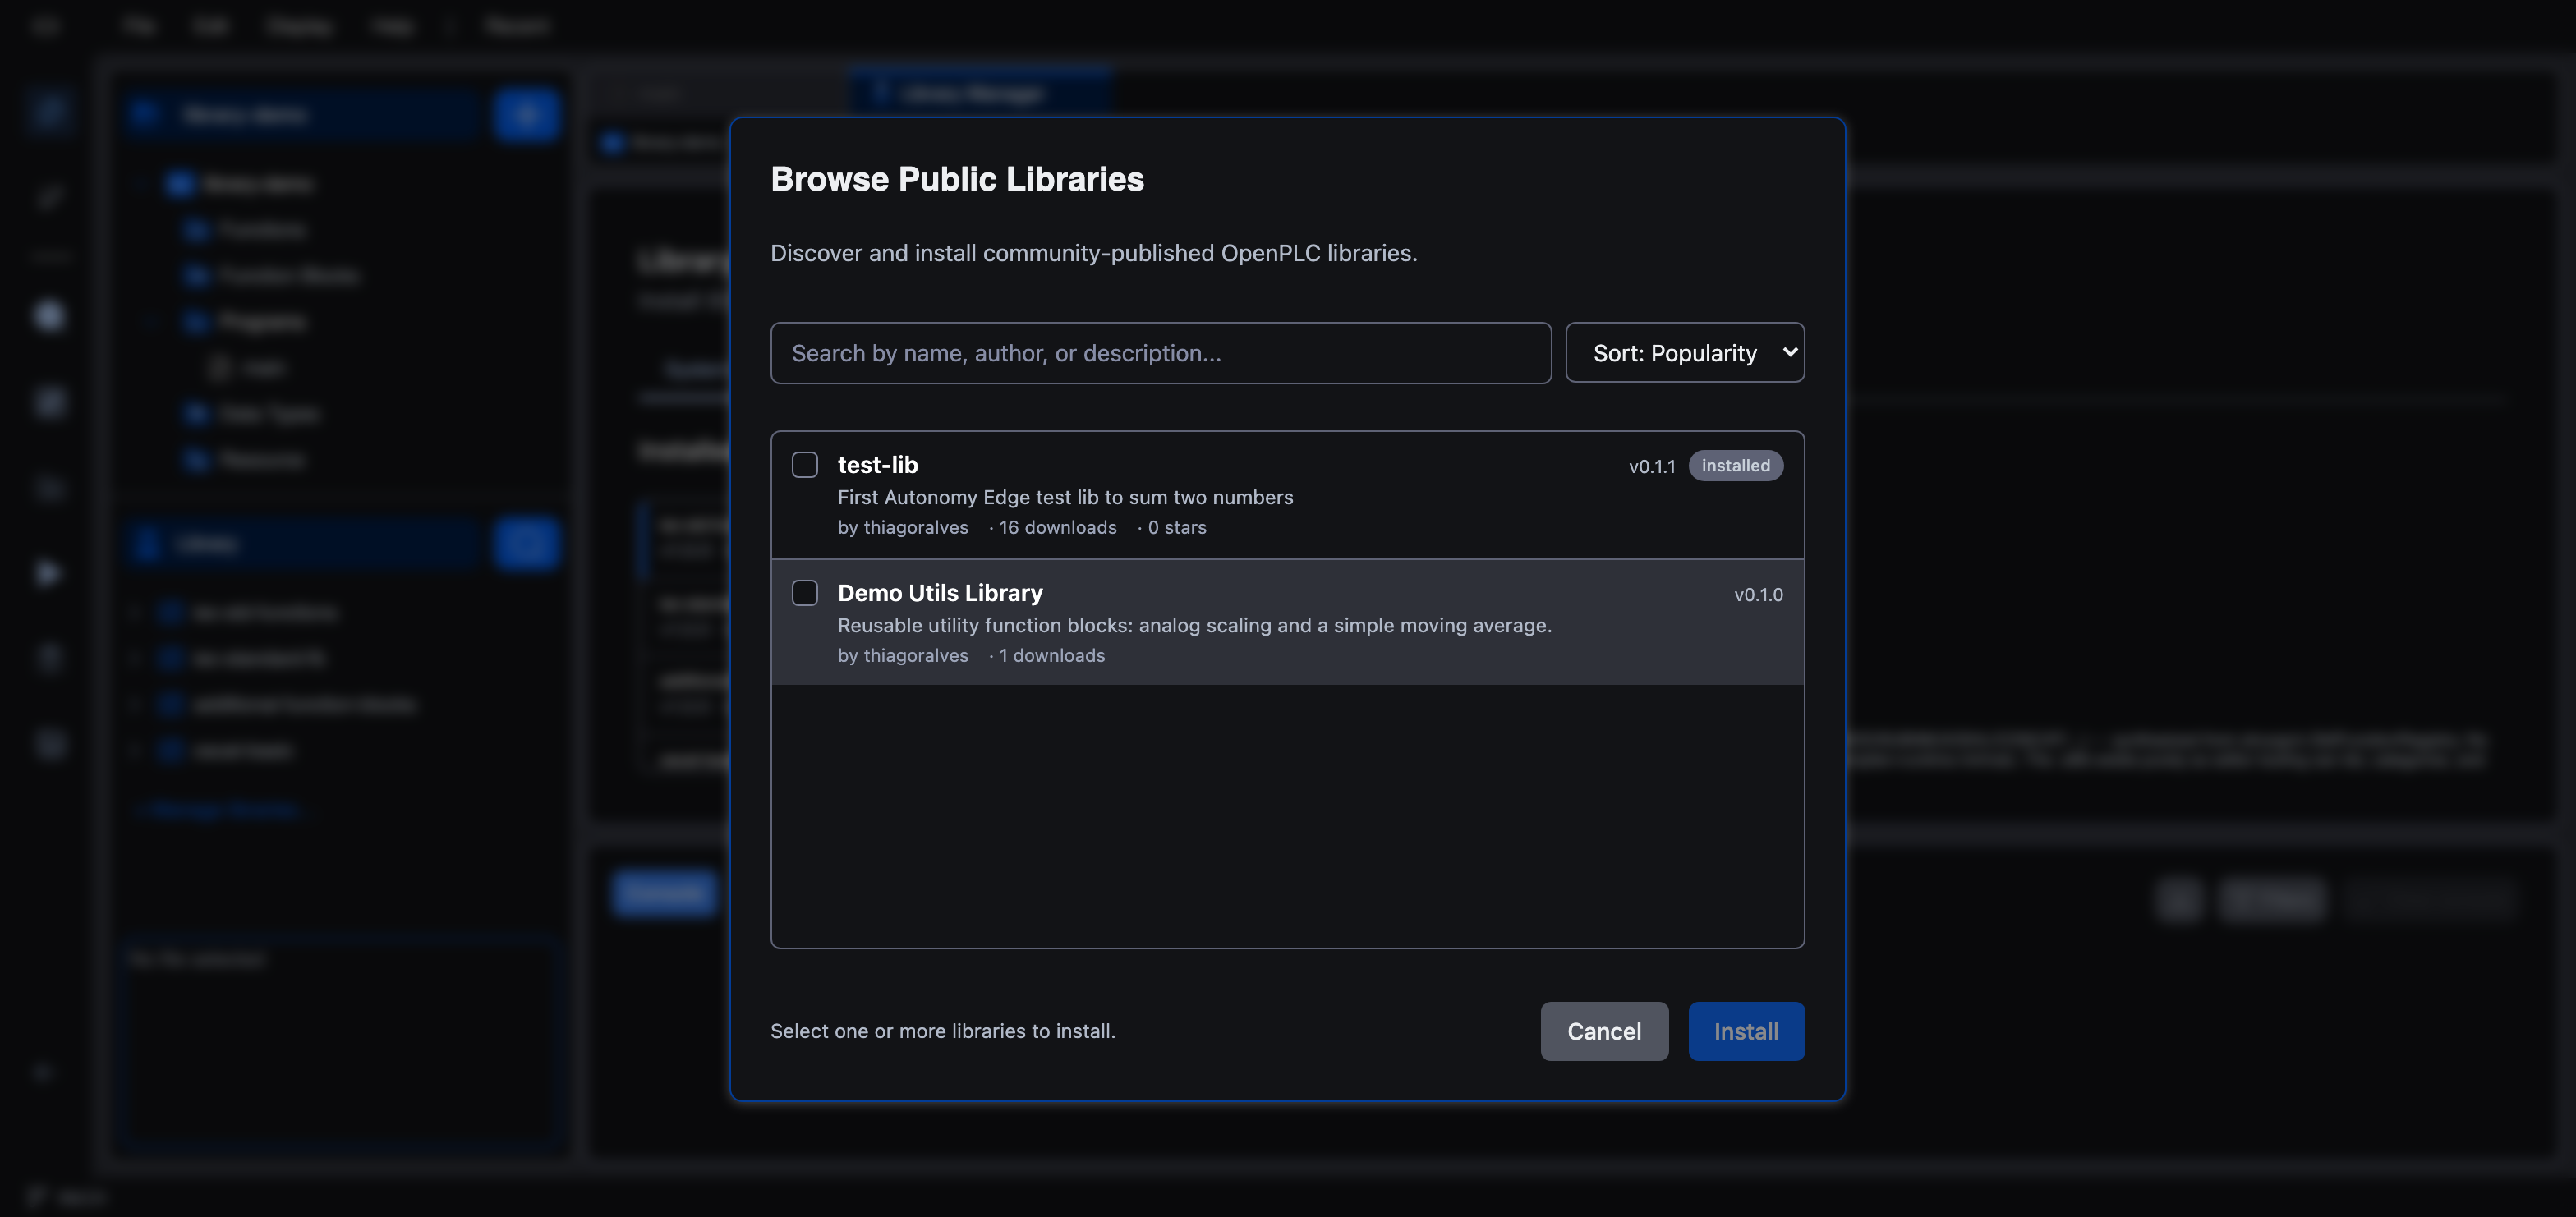
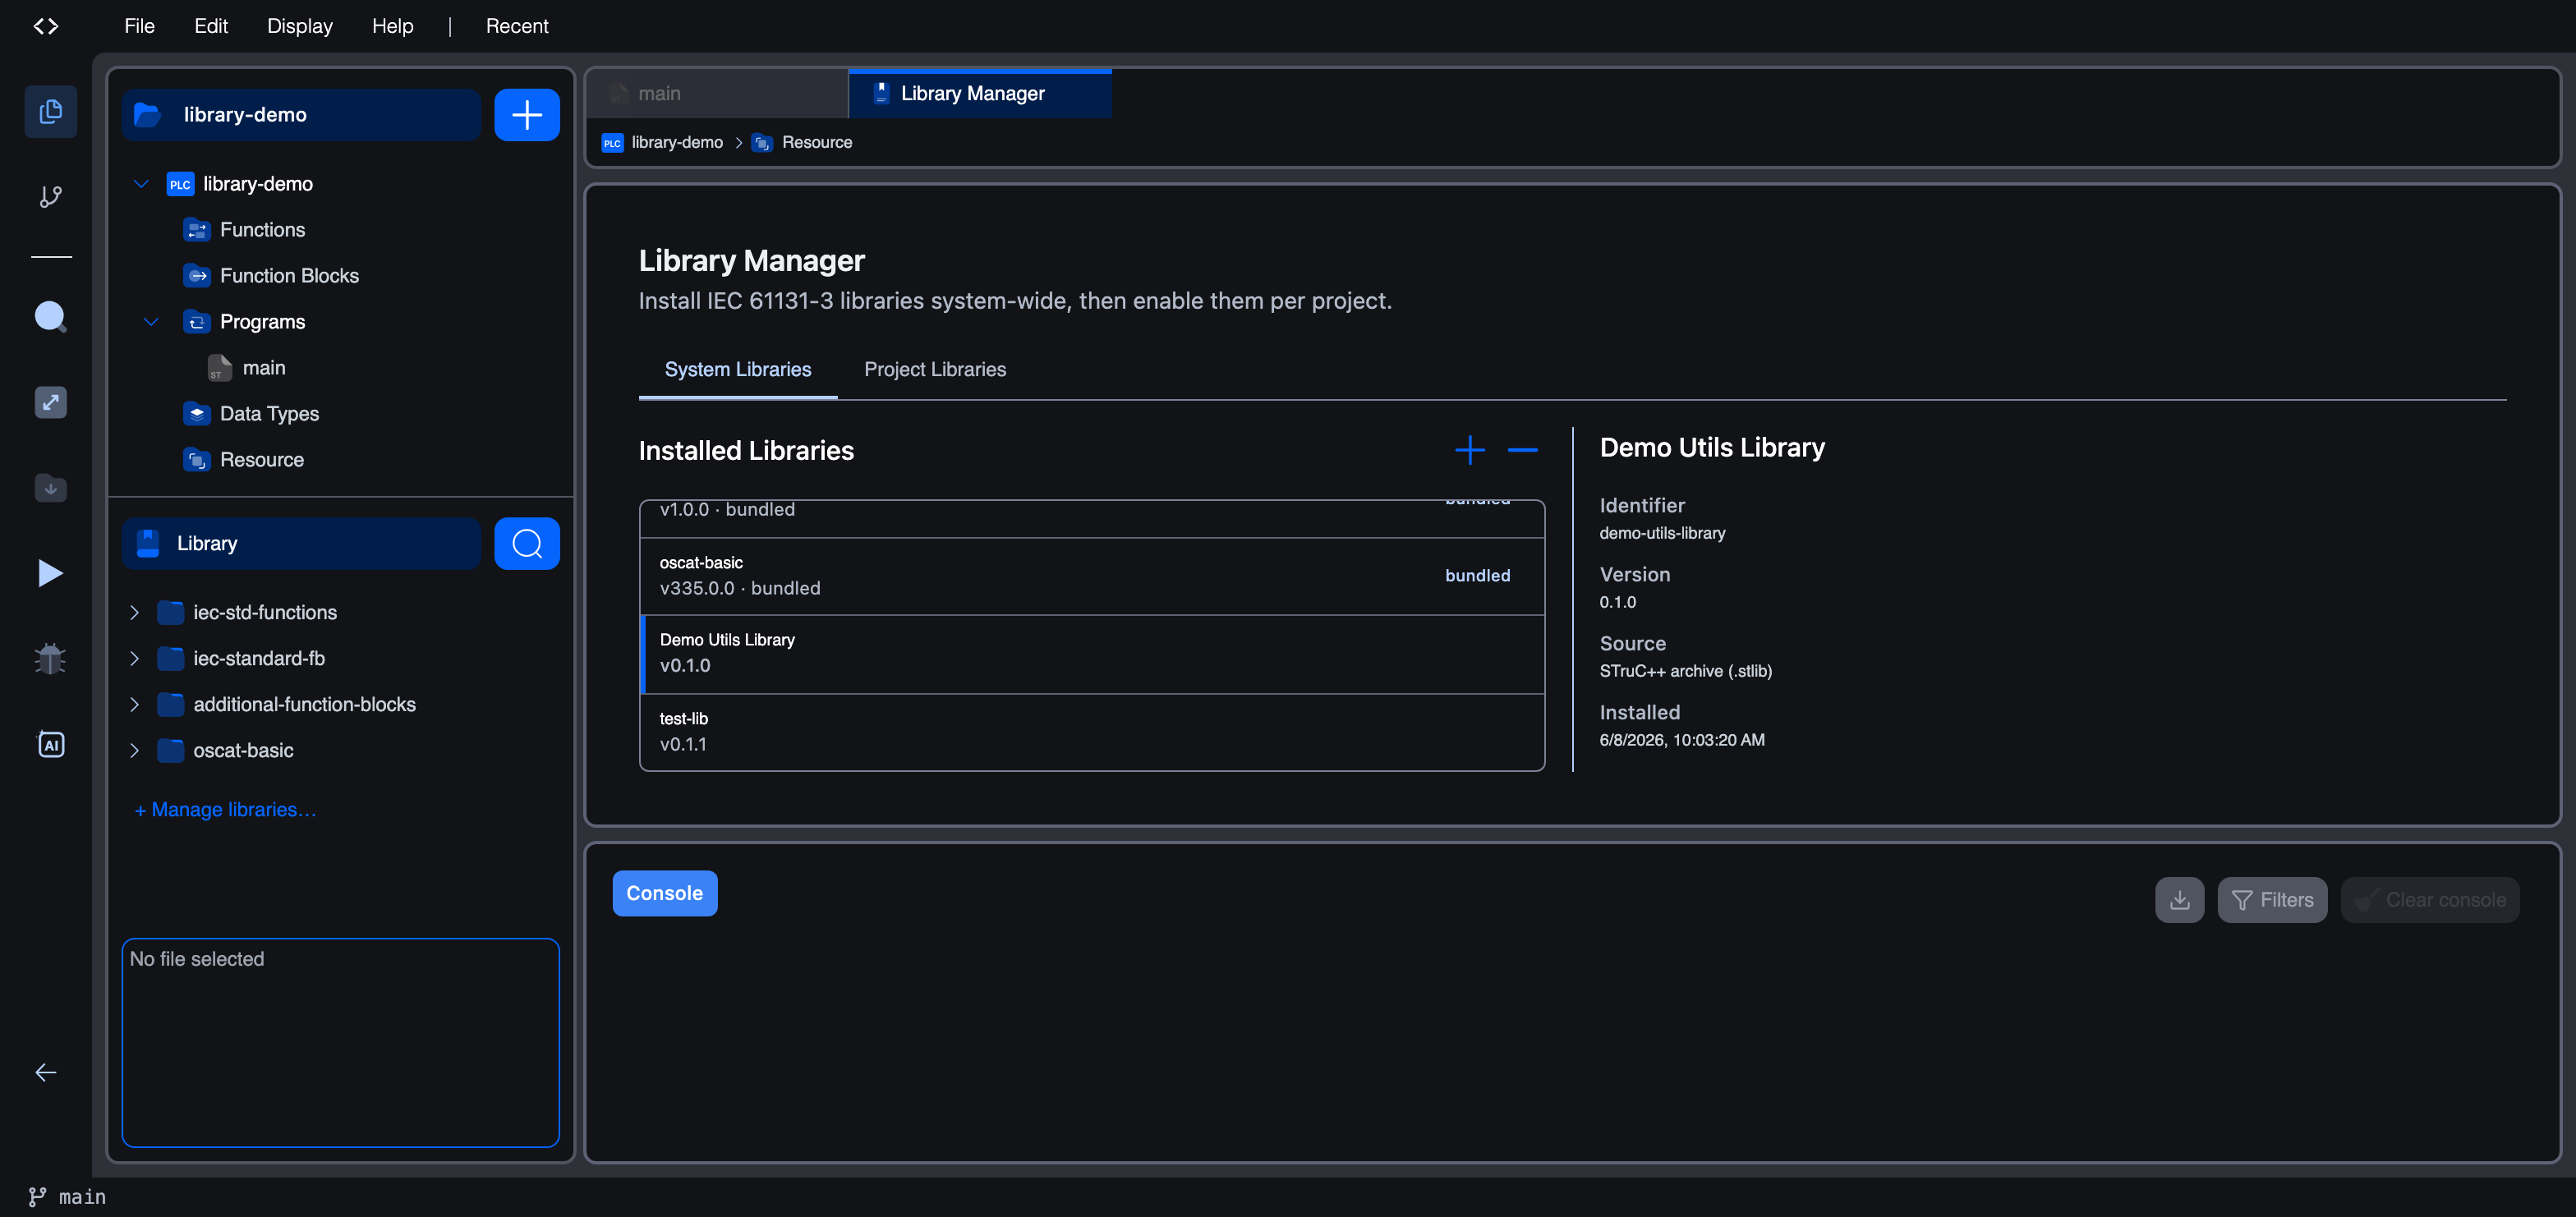
Tick Demo Utils Library, click Install, and confirm. When the download finishes, the dialog reports 1 succeeded and the library appears in the installed list. Selecting it shows its full details (identifier, version, source, and the blocks it contributes):
Add from file
Choosing Add from file… opens a file picker. Select a .stlib archive (the native format) or a CoDeSys .lib / .library package, which the editor converts on import. This is the way to install a library you built yourself but have not published, or one shared with you directly.
2. Enable the library for your project
Installing a library system-wide adds it to the editor's pool, but it does not automatically switch it on for the project you have open. Switch to the Project Libraries tab. Your newly installed library appears under Available Libraries on the left. Click its + to add it to the project. It moves to Project Libraries on the right, and its blocks immediately show up in the Library section of the side panel:
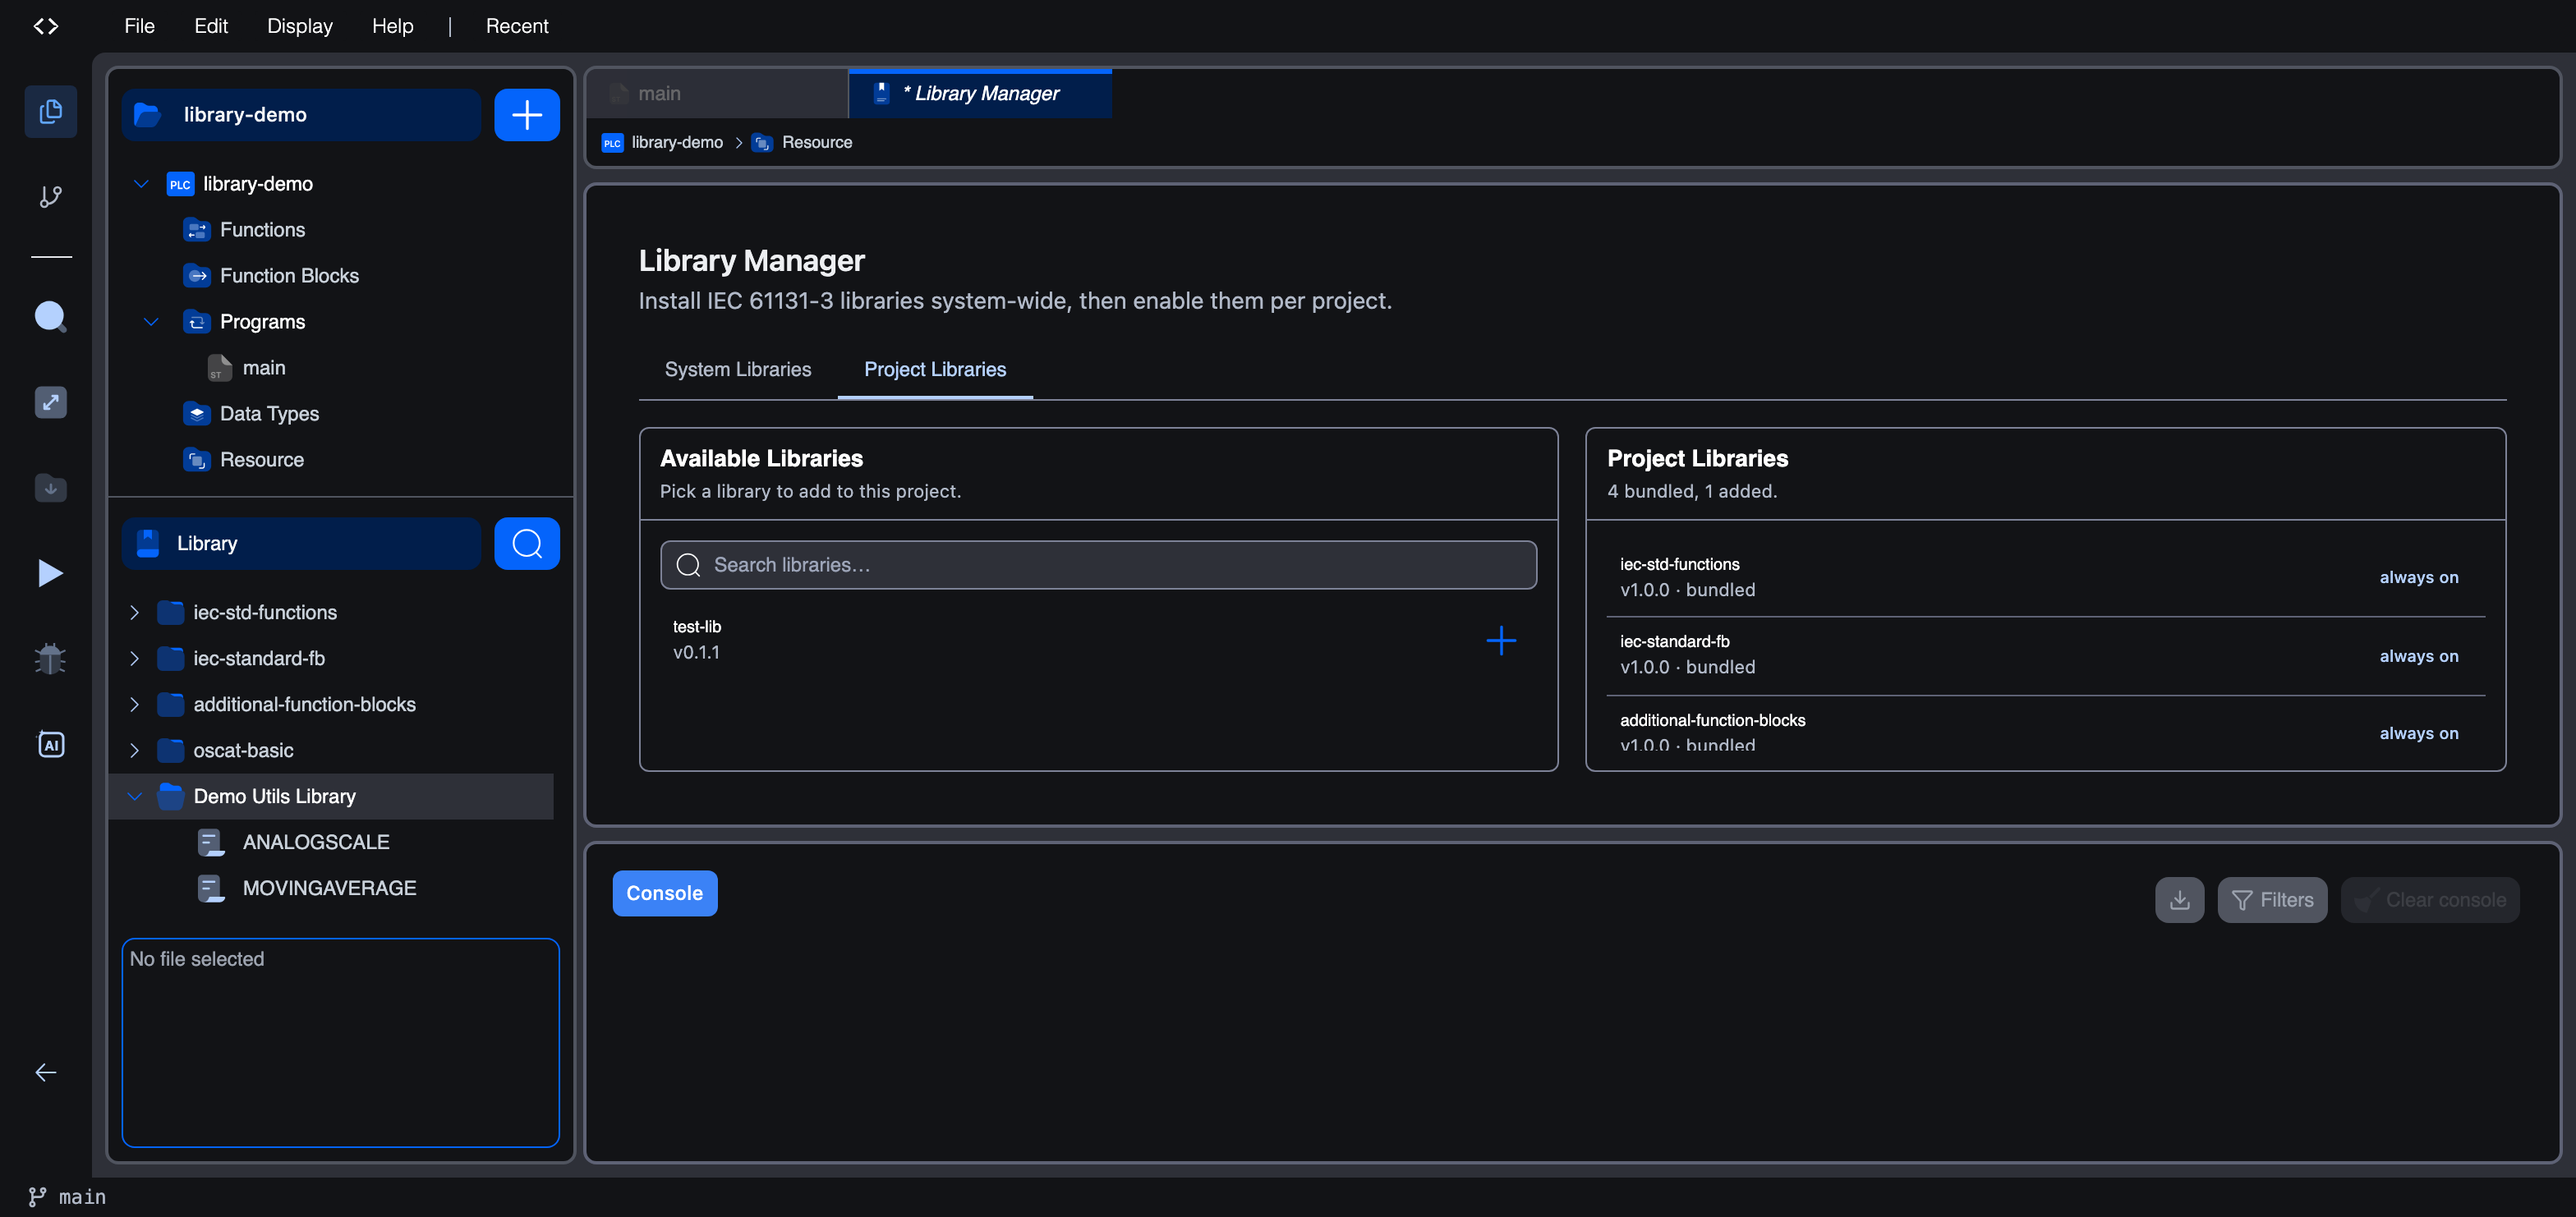
With the library enabled, its functions and function blocks are:
- listed in the Library section of the side panel,
- available in the variables editor's type picker, and
- drag-and-droppable into Ladder and Function Block Diagram bodies.
The "Missing libraries" prompt
If you open a project that enables a library which is not installed on your system, for example a project a colleague shared, the editor warns you up front:
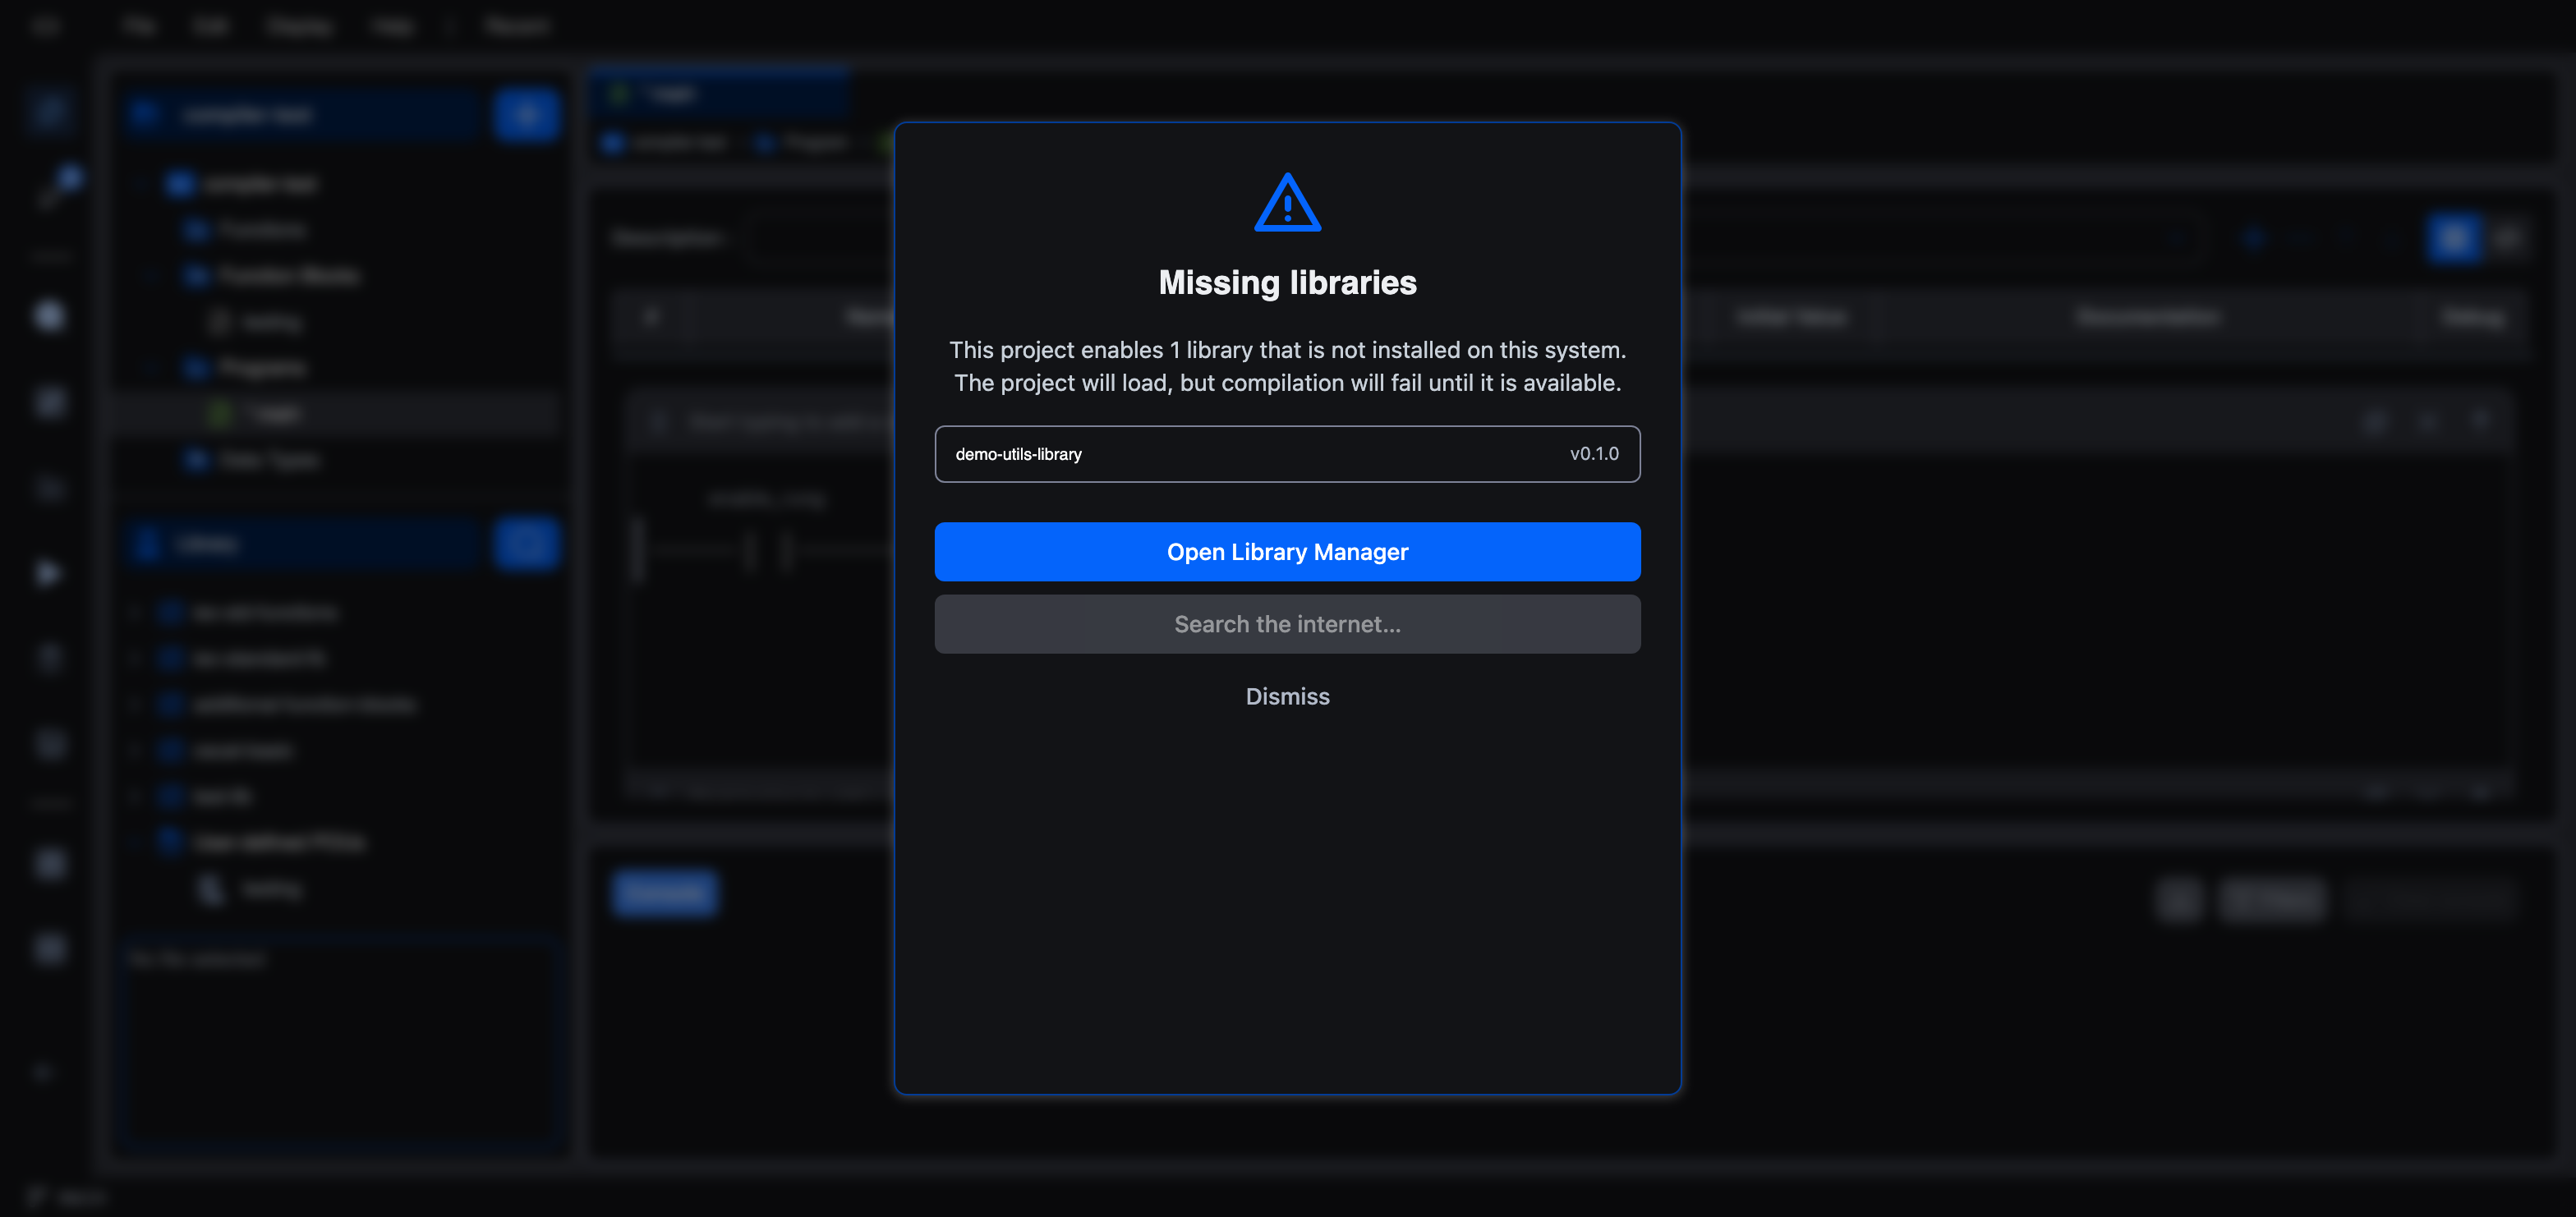
The project still opens, but compilation will fail until the library is available. Click Open Library Manager to install it (from the catalogue or a file), or Dismiss to deal with it later.
What's next
- Library Manager: how system and project libraries fit together.
- Creating a Library: author your own library to install elsewhere.
- Publishing a Library: put a library on the public catalogue.
On This Page