Installing the agent
Adding an orchestrator is a three-step wizard. You'll work in two places: your browser (to create the orchestrator) and a terminal on your Linux edge device (to install the agent).
What you need before you start
- A Linux edge device with:
- 64-bit kernel.
- Docker installed and running (the installer will offer to install it for you on supported distributions).
- Outbound HTTPS/WebSocket connectivity to the Autonomy Edge cloud.
- Either root access or a user that can
sudo.
- A browser session signed in to Autonomy Edge.
The number of orchestrators you can pair at once is governed by your plan, see Plan limits.
Step 1, Open the wizard
In the web app, open the Orchestrators list (from the dashboard, click Manage orchestrators on the Orchestrators card). Click the + New Orchestrator tile (the dashed card with a plus icon).
The wizard opens on a dedicated page.
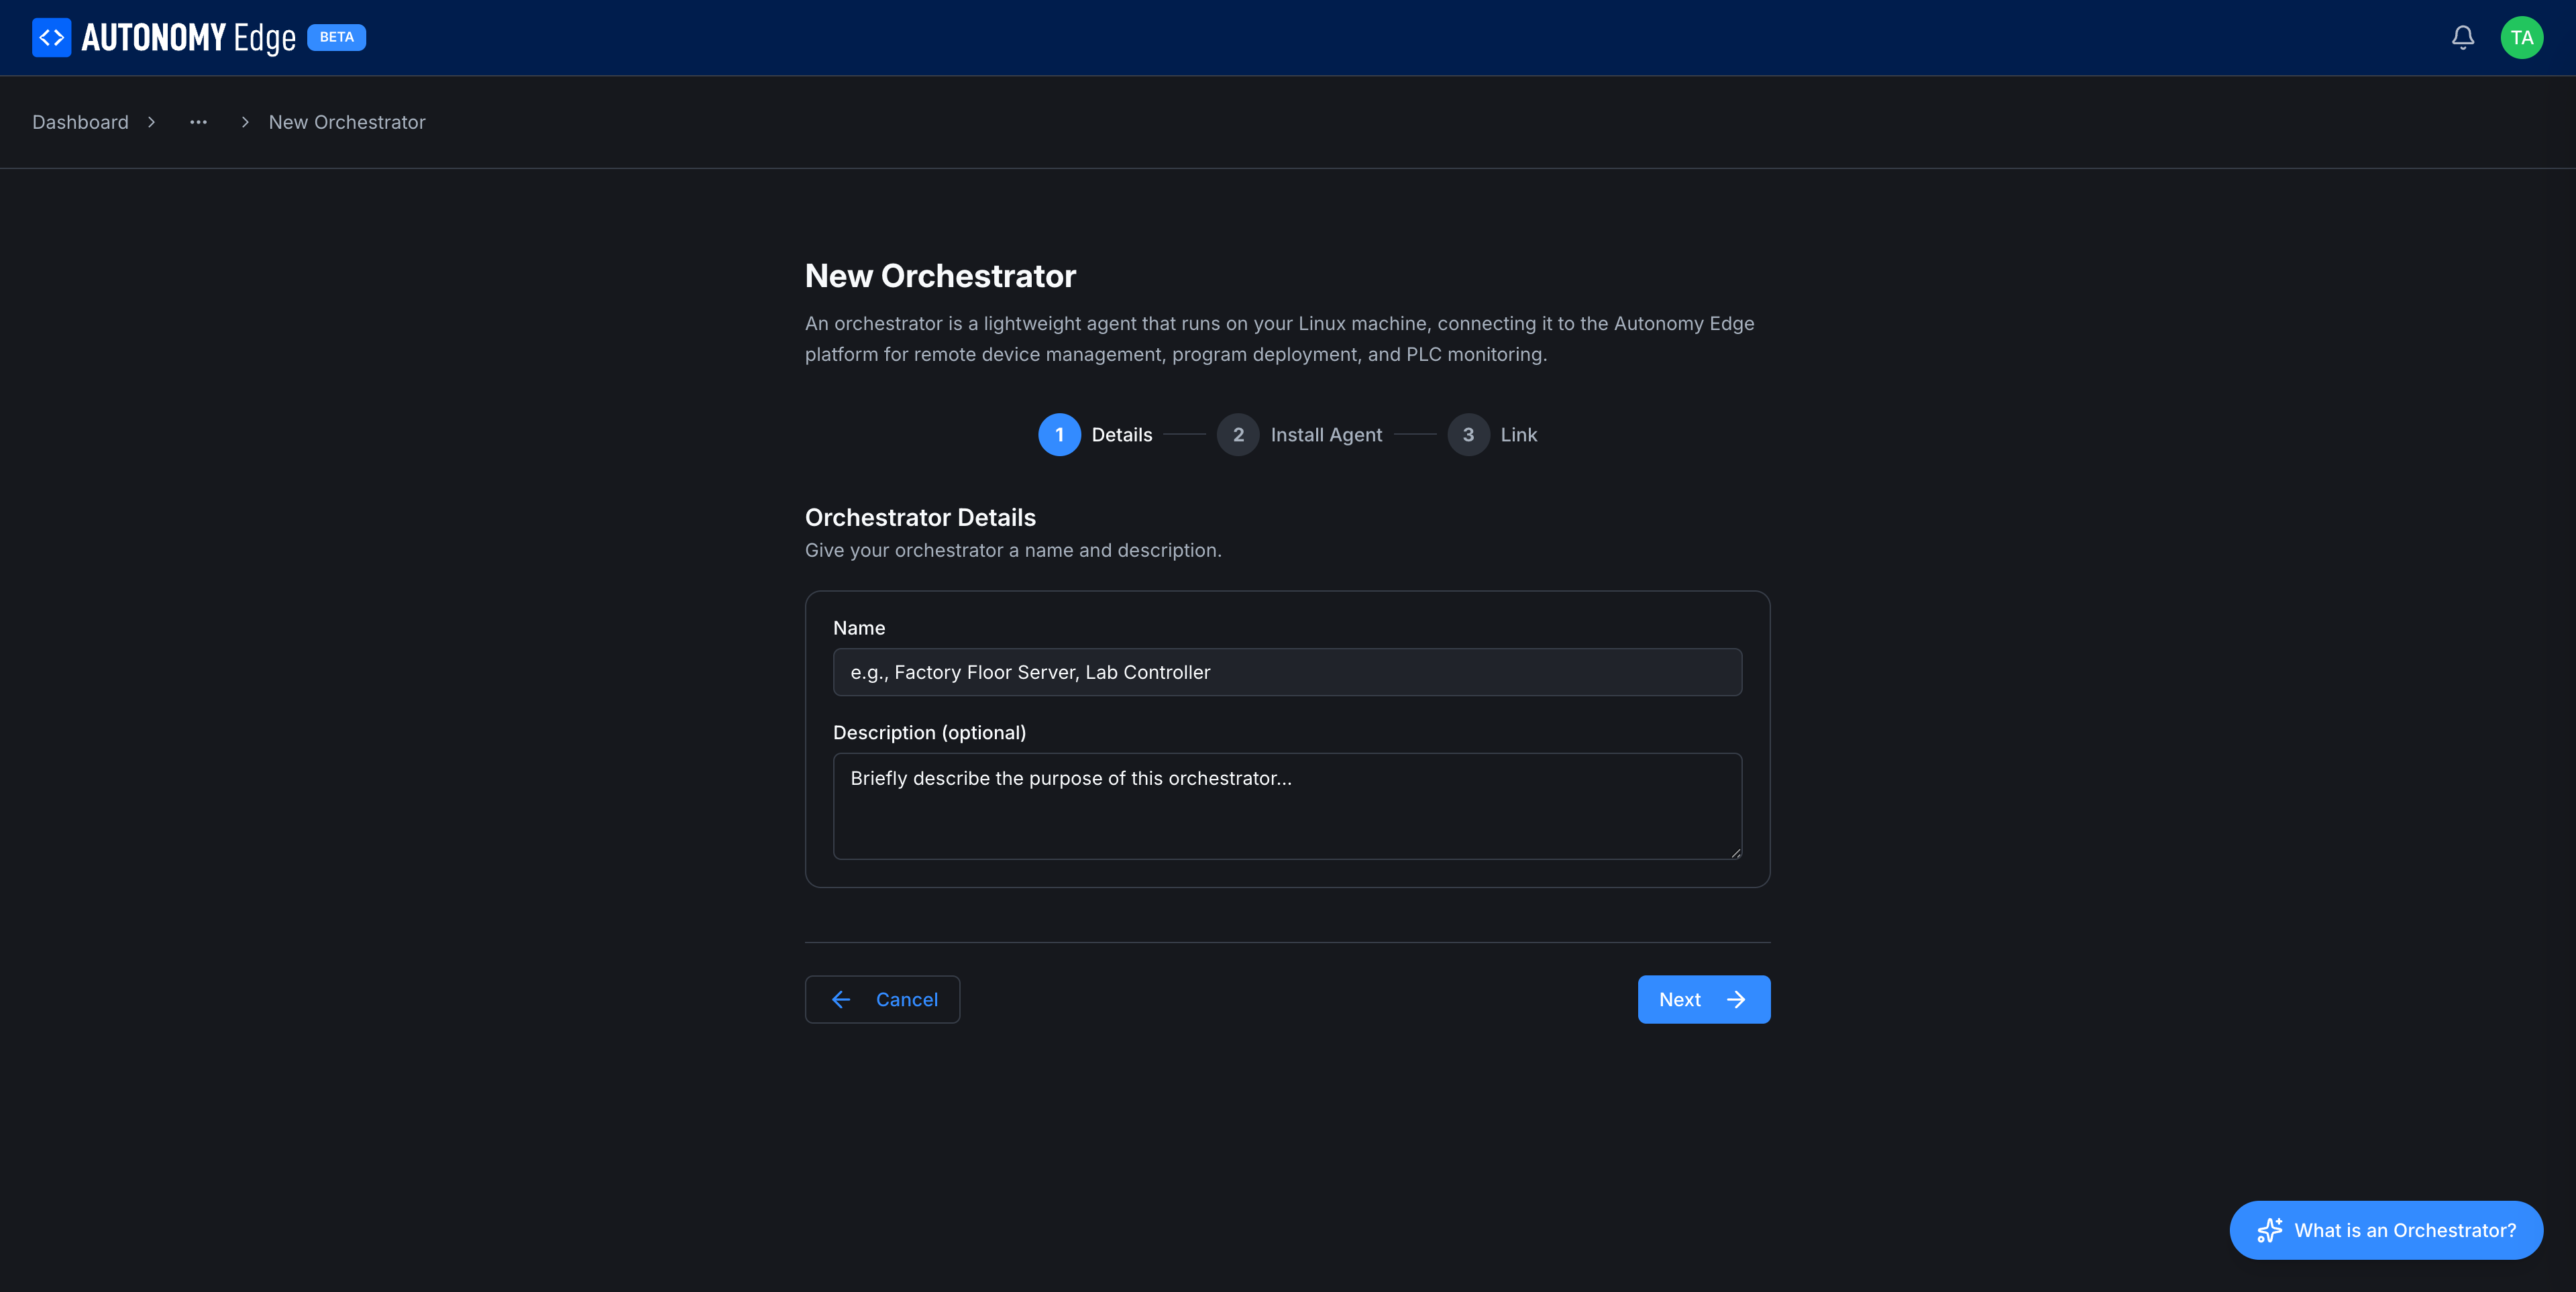
At the top: a short summary of what an orchestrator is. Below it, a 3-step indicator: 1. Details (selected), 2. Install Agent, 3. Link.
Step 2, Enter details
| Field | Required | Notes |
|---|---|---|
| Name | Yes | Any human-readable name. Used to identify this orchestrator everywhere in the platform. Examples: Factory Floor Server, Lab Controller, Toradex Ivy, Demo. |
| Description (optional) | No | What this orchestrator is for. Helpful when you have several. |
Click Next. (You can also use Cancel to abort.)
Step 3, Install the agent on your device
The wizard now shows three numbered steps (a, b, c) for the install.
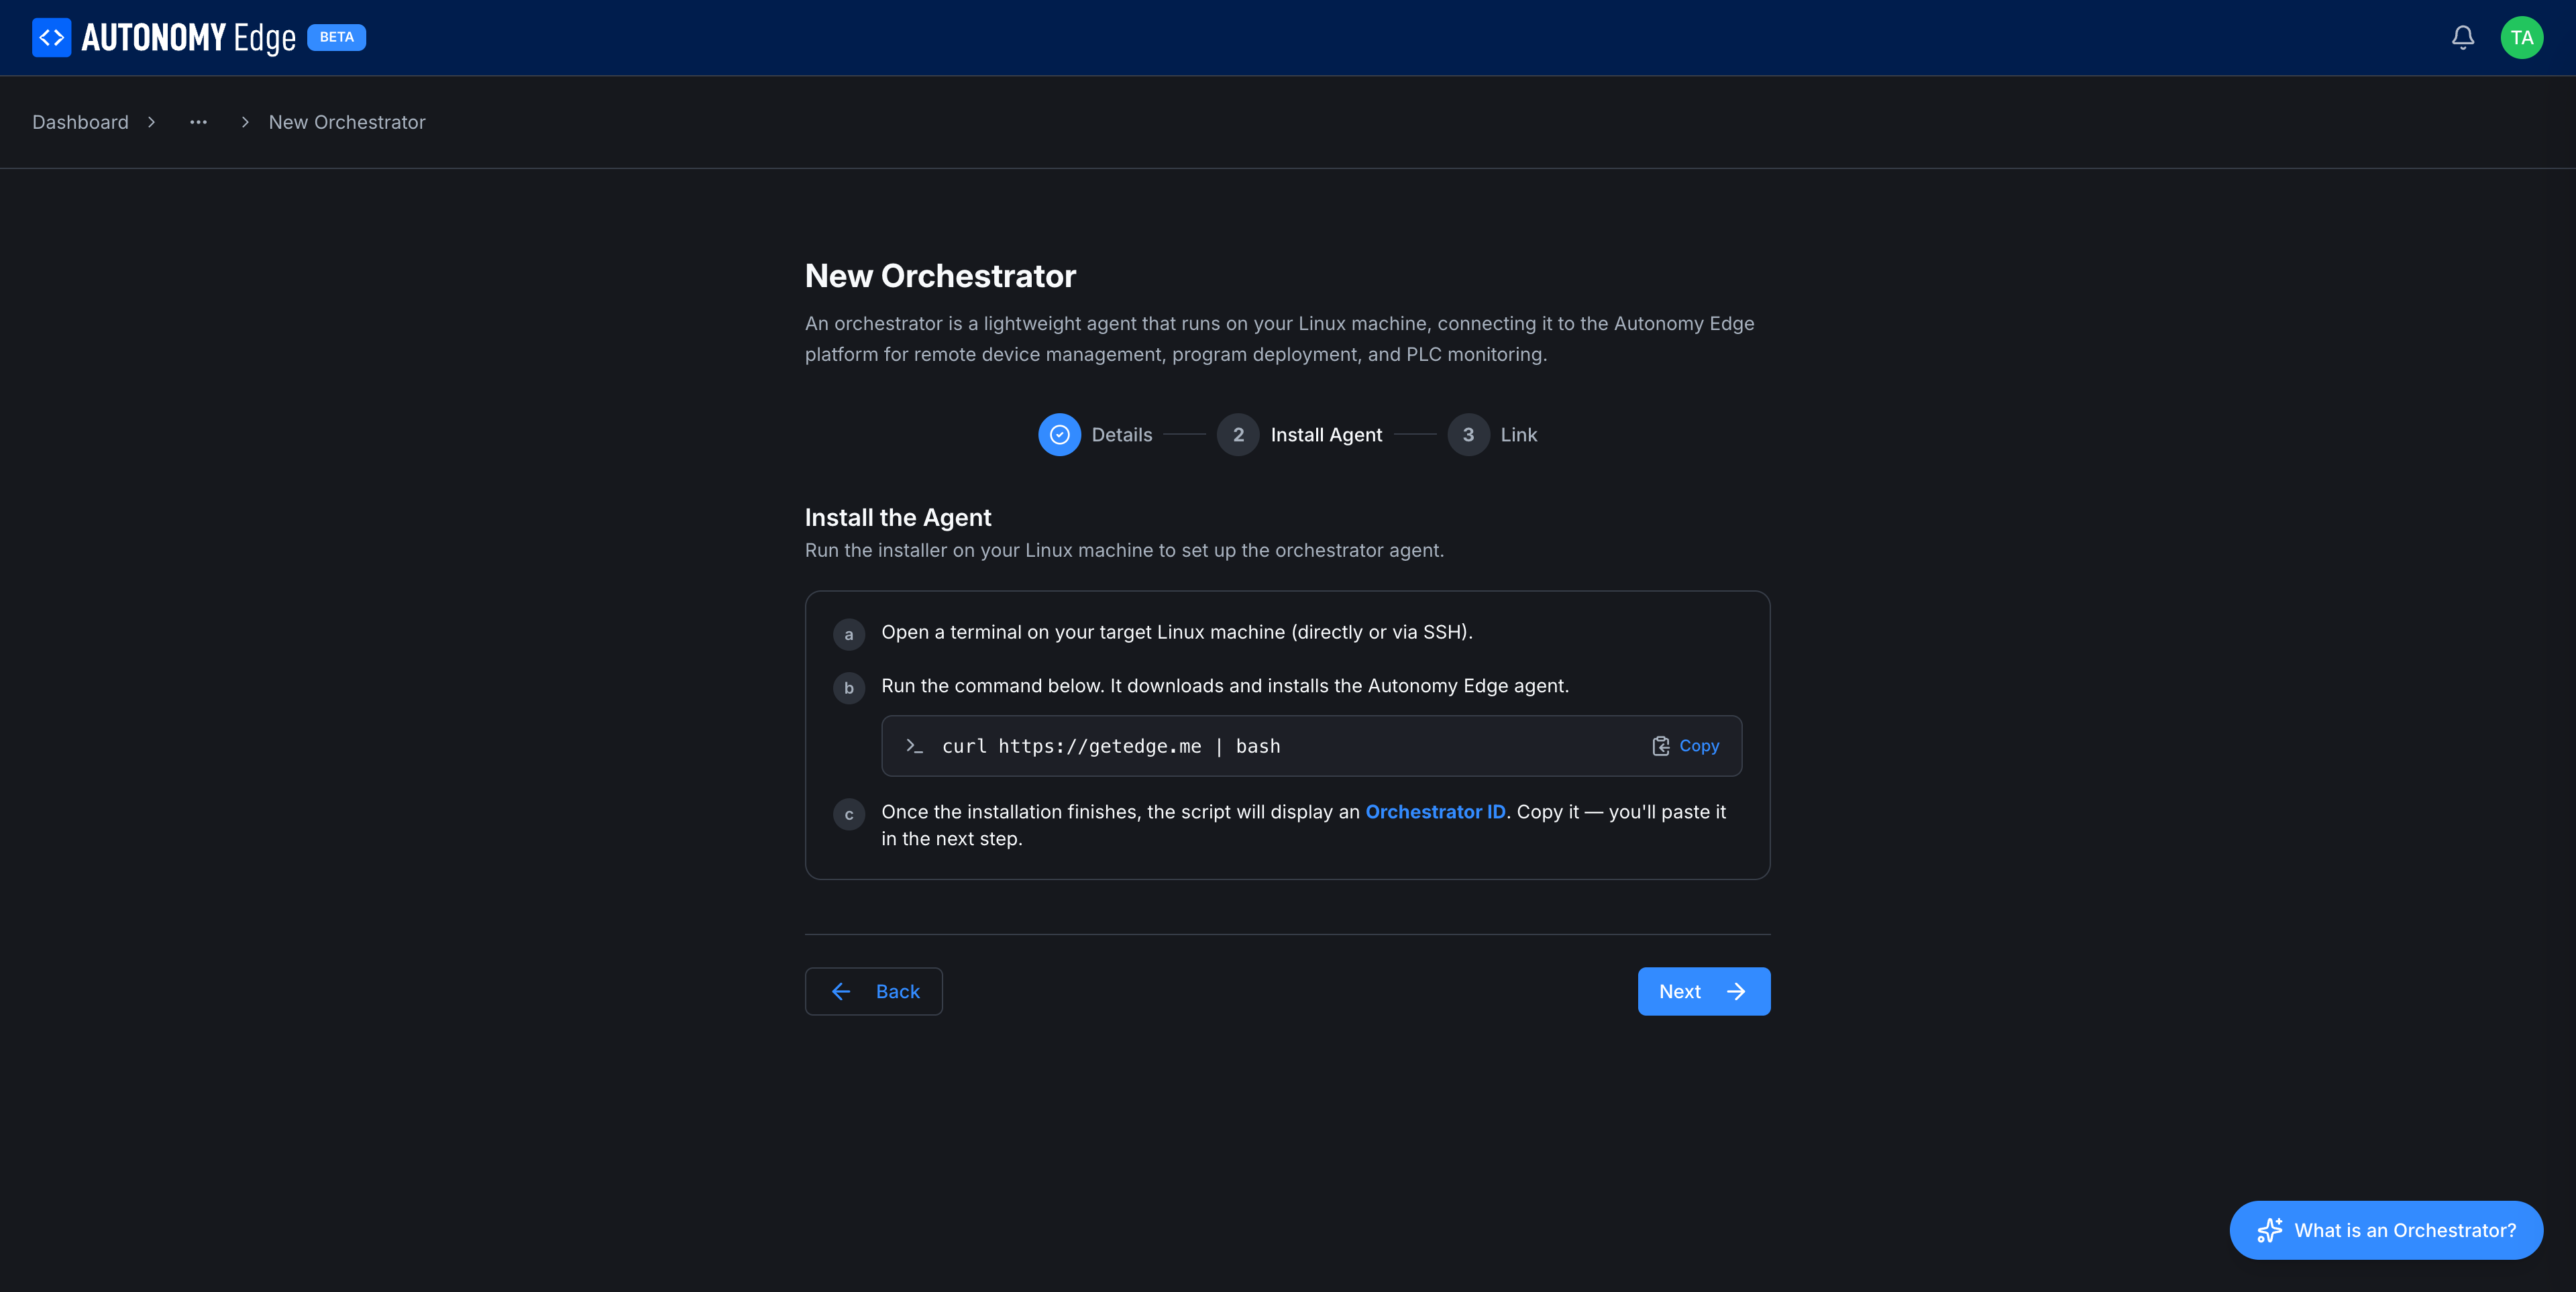
The instructions:
a. Open a terminal on your target Linux machine (directly or via SSH).
b. Run the command below. It downloads and installs the Autonomy Edge agent.
bashcurl https://getedge.me | bashc. Once the installation finishes, the script will display an Orchestrator ID. Copy it, you'll paste it in the next step.
Click Copy next to the command to grab it to your clipboard, paste it into your terminal, and run.
The installer will:
- Check prerequisites (Docker, networking, kernel features).
- Pull the latest agent container image and the network-monitor sidecar.
- Generate device-side TLS keys and certificates for the mTLS connection.
- Display an Orchestrator ID in the terminal once it's running.
The Orchestrator ID generated by the wizard expires after 5 minutes. If the install takes longer or you get distracted, just close the wizard and start step 1 again, there's no penalty for restarting.
Click Next when you have the ID.
Step 4, Pair the agent with the cloud
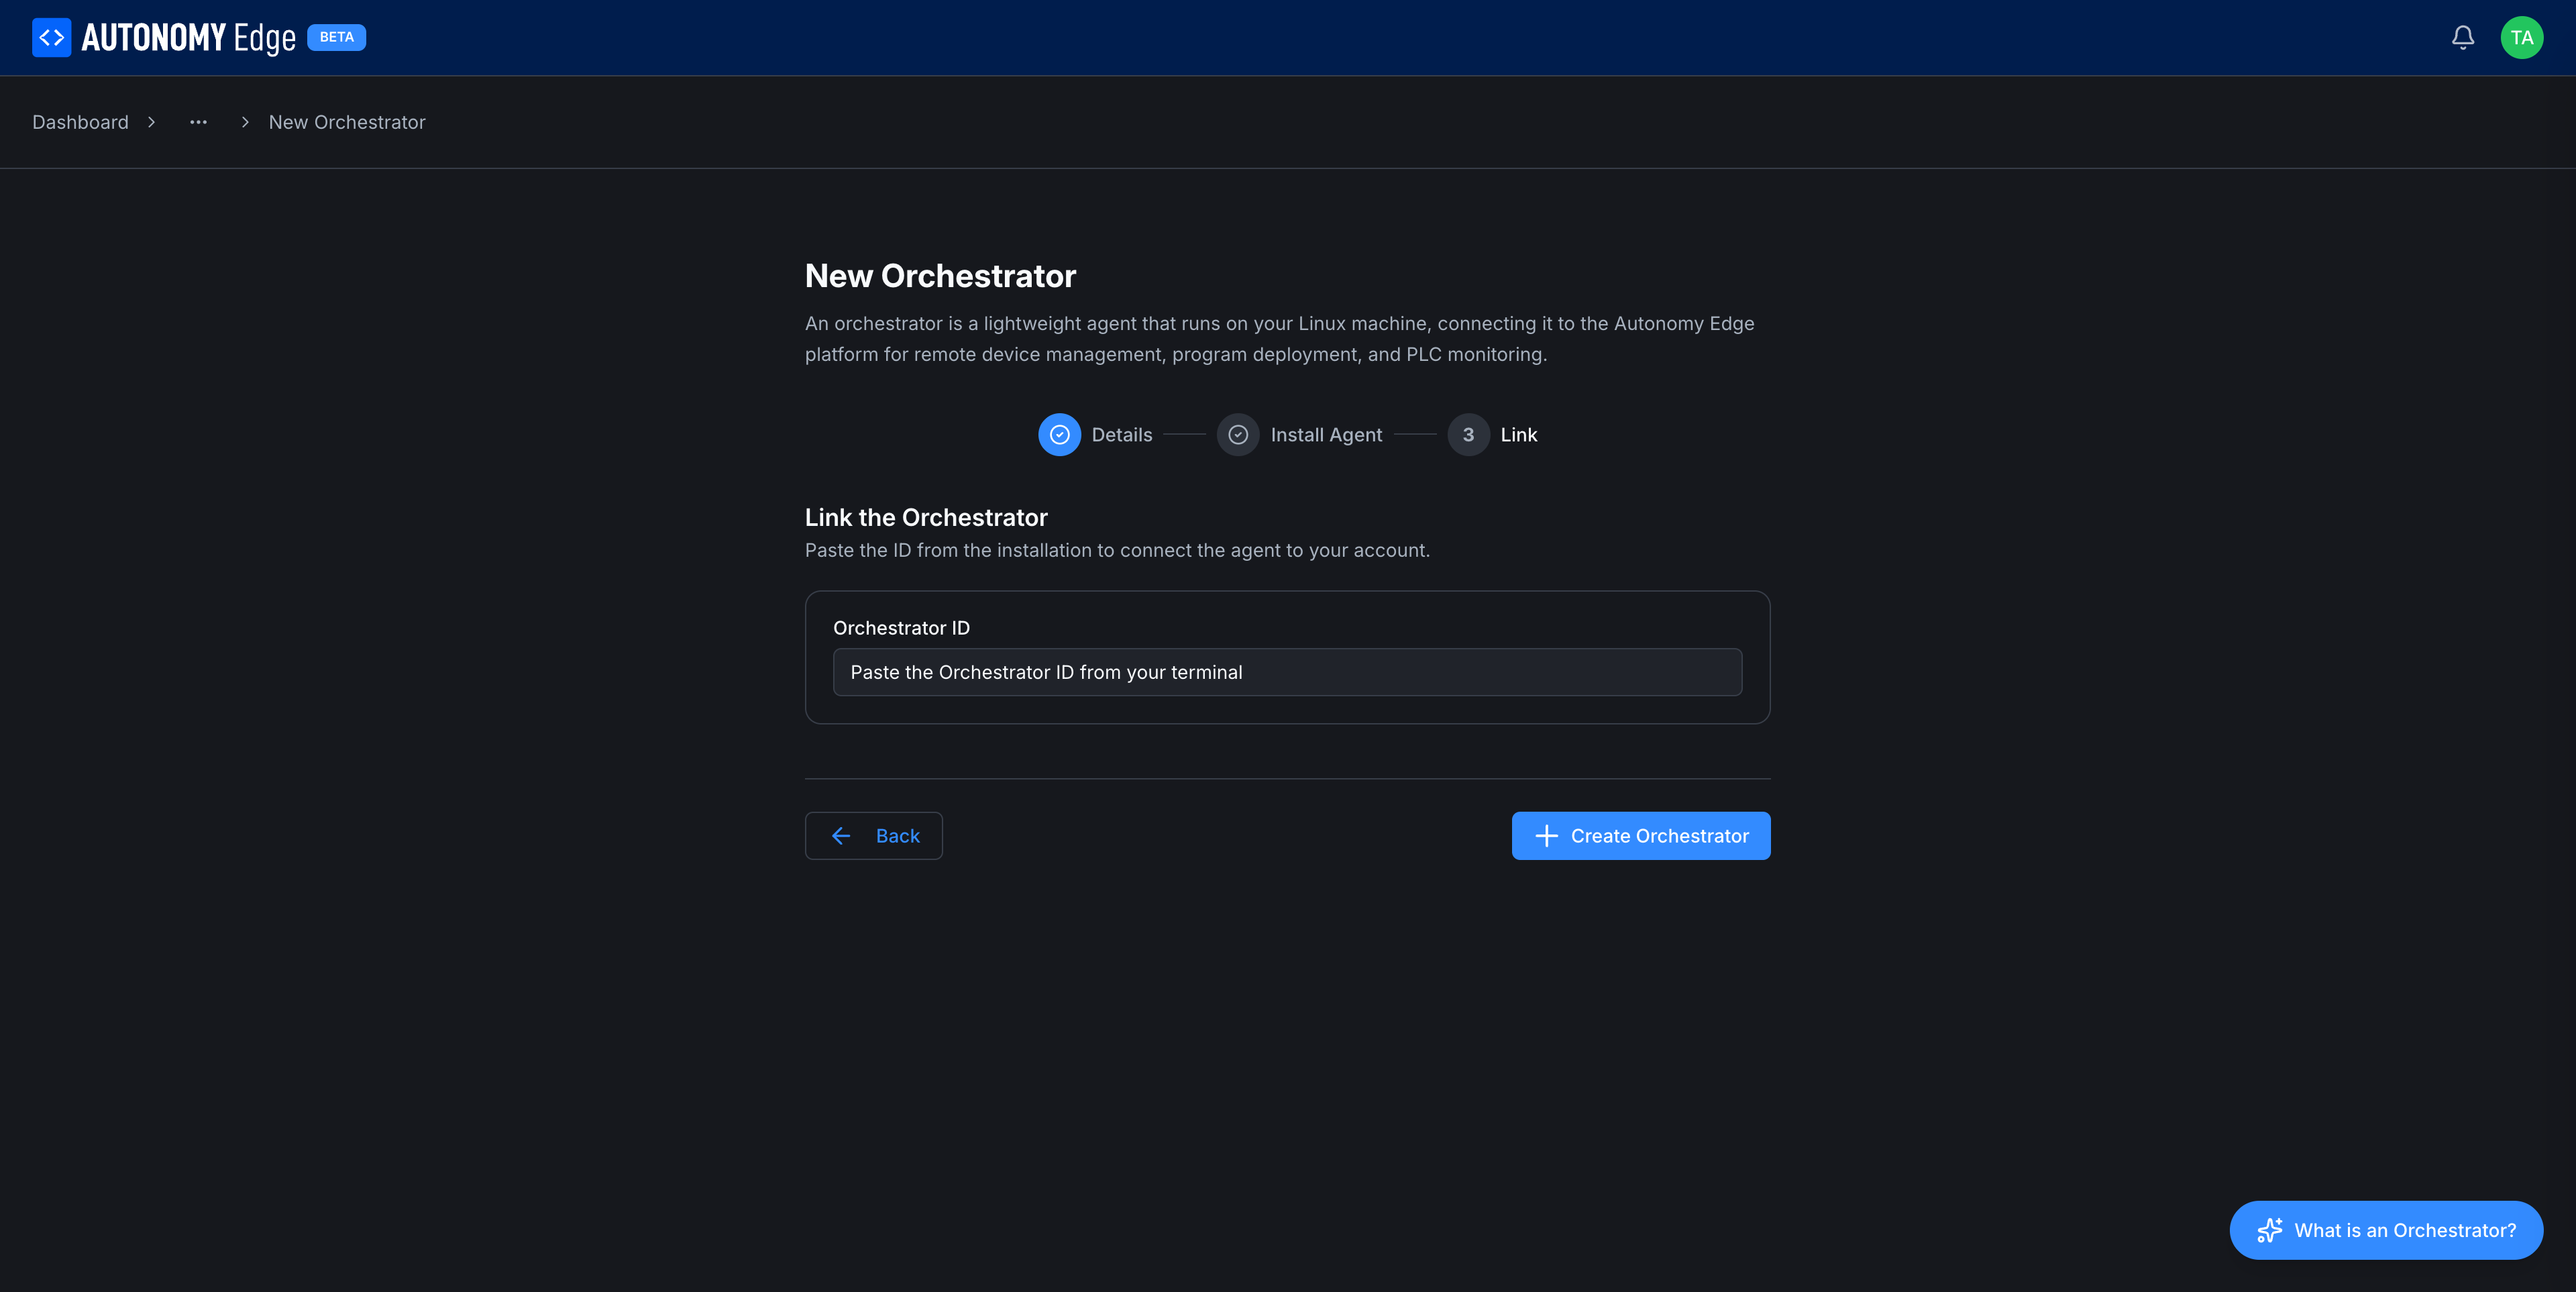
A single field: Orchestrator ID. Paste the ID that was printed in the terminal.
Click Create Orchestrator at the bottom right. The platform:
- Validates the ID.
- Records the public certificate the agent sent over.
- Marks the orchestrator as paired.
A few seconds later the orchestrator's status flips to Active (or Connected) on the orchestrators list. You're done.
What if the ID expired?
Run curl https://getedge.me | bash again on the device. The installer detects the existing install and offers to re-generate the registration ID. Paste the new one into the wizard.
If the wizard has already timed out, close it and start over from + New Orchestrator.
Verifying the install
After pairing, the orchestrator card on the Orchestrators list shows live CPU, memory, and uptime metrics that match what top shows on the device. If those numbers stay at zero or the status stays Inactive, see Orchestrator not connecting.
You can now:
- Add a vPLC device → Creating a vPLC.
- View detailed metrics → Orchestrator detail.
Uninstalling the agent
To remove the agent from a device:
bashcurl https://getedge.me | bash -s -- --uninstall
This stops the agent and network-monitor containers, removes their images, and deletes the TLS material. The orchestrator entry in the web app is not automatically deleted; remove it from Managing orchestrators.
On This Page